You can absolutely grow food plants, even if you've killed every houseplant you've ever owned. The trick is starting with the right plant for your actual setup, not the one that looks prettiest on the seed packet. This guide walks you through everything from pulling seeds out of a store-bought tomato to harvesting your first lettuce leaves, with honest advice on what goes wrong and how to fix it before you lose the whole batch.
How to Grow Food Plants: From Store Starts to Harvest
Marcus Holloway
24 Mar 2026
What you can actually grow from food you already have

Before you spend a dollar at the garden center, look at what's already in your kitchen. A surprising number of food plants can be started directly from grocery store produce, and this is one of the most satisfying ways to begin growing.
Seeds from produce
Tomatoes, peppers, squash, cucumbers, and melons all contain seeds you can plant directly. Scoop the seeds out, rinse off the gel coating (especially on tomatoes, which benefit from a quick 2-day fermentation in a small cup of water to break down germination inhibitors), then dry them on a paper towel before planting. One caveat: if the produce came from a hybrid variety, the seeds won't grow true to the parent. Open-pollinated or heirloom varieties from a farmers market or specialty store will give you more predictable results.
Sprouting seeds and legumes
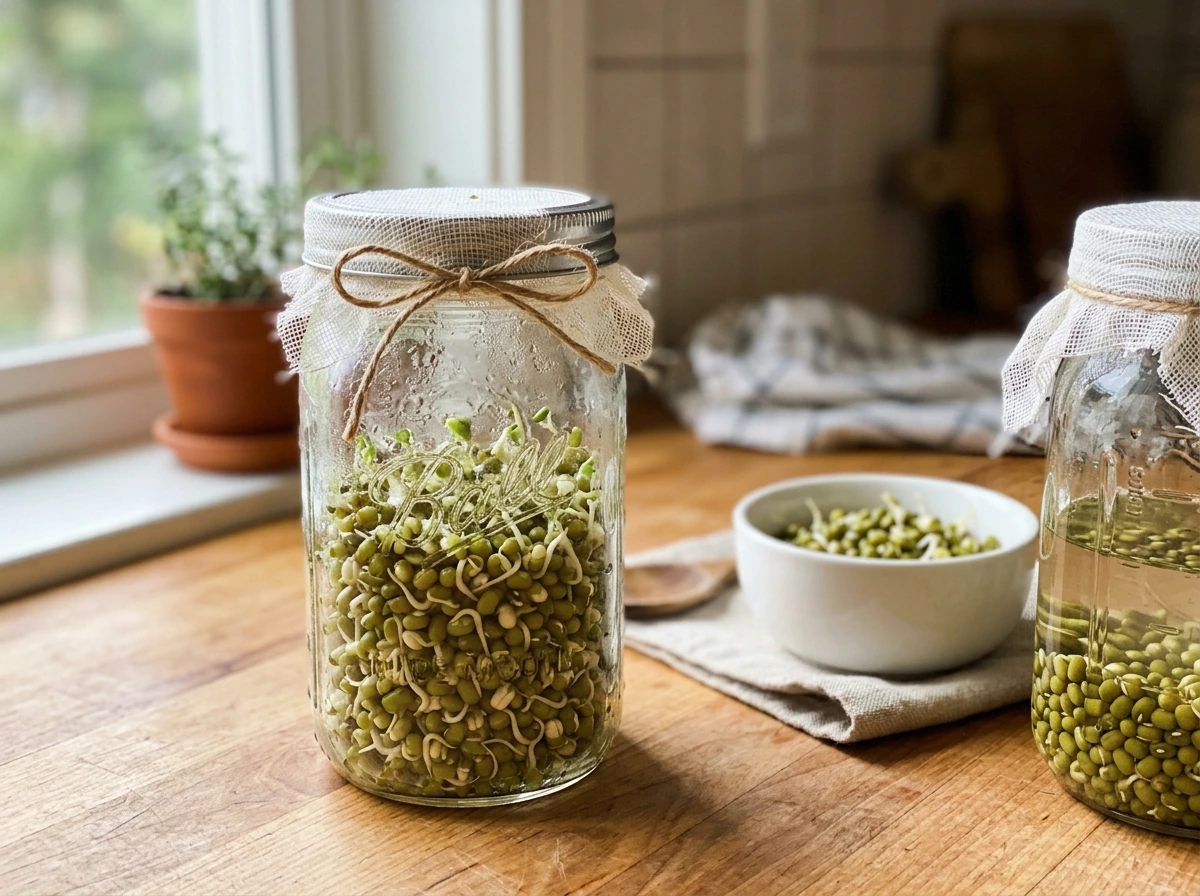
Mung beans, lentils, chickpeas, sunflower seeds, and radish seeds can all be sprouted in a jar on your counter with nothing but water and a piece of cheesecloth. Mung beans, lentils, chickpeas, sunflower seeds, and radish seeds can all be sprouted in a jar on your counter with nothing but water and a piece of cheesecloth. Sprouts are fast (ready in 3 to 7 days) and require zero soil, one of the simplest ways for how to grow anything. That said, sprouts have a real food safety dimension worth knowing: the warm, moist conditions that sprouts love are also ideal for bacteria like Salmonella and E. coli. Clemson Extension is clear that home-grown sprouts are not inherently safer than store-bought ones. Use seeds that are commercially produced and labeled for sprouting, rinse thoroughly at least twice a day, and eat them promptly. The FDA has a full guidance framework around sprout production precisely because contamination risk is real, not hypothetical. That said, sprouts have a real food safety dimension worth knowing: the warm, moist conditions that sprouts love are also ideal for bacteria like Salmonella and E. coli. Clemson Extension is clear that home-grown sprouts are not inherently safer than store-bought ones. Use seeds that are commercially produced and labeled for sprouting, rinse thoroughly at least twice a day, and eat them promptly. The FDA has a full guidance framework around sprout production precisely because contamination risk is real, not hypothetical. how to grow plants and flowers. how to grow plants and trees
Rhizomes and cuttings
Ginger and turmeric are among the easiest food plants to propagate from grocery store rhizomes. Find a piece with visible growth buds (those little nubs on the surface), soak it overnight in warm water, then plant it just below the soil surface with the buds pointing up. UGA Extension notes ginger can reach about 3 feet tall, so give it a container with some room. Wisconsin Master Gardeners specify that ginger needs soil temperature above 68°F to break dormancy, so don't rush this one in late winter if you don't have a warm spot. Potatoes work similarly: each seed piece needs at least one eye (bud), and that bud is where the new plant emerges. Green onions are even simpler, just drop the root end of a store-bought bunch in a glass of water and watch it regrow within days.
What not to bother with from the grocery store
Citrus seeds can sprout but take years to fruit. Avocado pits grow into lovely trees that almost never produce fruit indoors. Bell pepper seeds from supermarket peppers are usually hybrid. None of these are impossible, but they're frustrating starting points for someone who wants actual food on the table within a season. Save those experiments for later.
Picking what to grow based on your space and light
The single biggest mistake beginners make is choosing plants that don't match their light conditions. A south-facing window with six-plus hours of direct sun can handle tomatoes, peppers, and basil. A north-facing apartment window cannot, and no amount of care will compensate for that.
Indoors with limited light (under 4 hours direct sun)
- Lettuce and salad greens: tolerant of lower light, fast-growing (baby leaves in 25 days)
- Microgreens: need even less space than sprouts, harvest in 7 to 14 days
- Green onions: regrow in water on any windowsill
- Herbs like mint and chives: more shade-tolerant than basil
- Sprouts: no light required at all during production
Indoors with good light or a grow light (6+ hours or supplemental lighting)
- Basil: needs warmth and strong light, ready in roughly 60 to 85 days
- Cherry tomatoes: possible in a 5-gallon container near a south window with a grow light
- Peppers: slow but doable indoors with consistent warmth
- Dwarf or patio cucumber varieties: manageable in containers
Balconies and outdoor containers
A balcony with 6 or more hours of sun opens up a lot. Full-size tomatoes in 5-gallon buckets, herbs in window boxes, lettuce in a shallow trough, and even a zucchini in a 10-gallon container are all realistic. Wind can be a problem on higher floors, so plan for staking and windbreaks. For anyone growing food outdoors in a proper garden bed, the companion guide on how to grow plants in garden goes deeper on in-ground setup and spacing.
Quick plant-to-space matching guide
| Plant | Minimum Light | Ideal Space | Days to First Harvest |
|---|---|---|---|
| Lettuce (baby leaf) | 3-4 hours | Shallow tray or pot | 25 days |
| Green onions | 2-3 hours | Any container or glass of water | 25-35 days |
| Basil | 6+ hours | 4-6 inch pot minimum | 60-85 days |
| Tomato (cherry) | 8+ hours | 5-gallon container | 50-75 days from transplant |
| Ginger | Indirect bright light | Wide, deep container | 8-10 months |
| Sprouts | None needed | Jar on counter | 3-7 days |
| Microgreens | Indirect or grow light | Shallow tray | 7-14 days |
Soil, water, or hydroponics: picking your growing setup
There is no single best medium. The right choice depends on how much space you have, how hands-on you want to be, and what you're growing. Here's a plain-language breakdown.
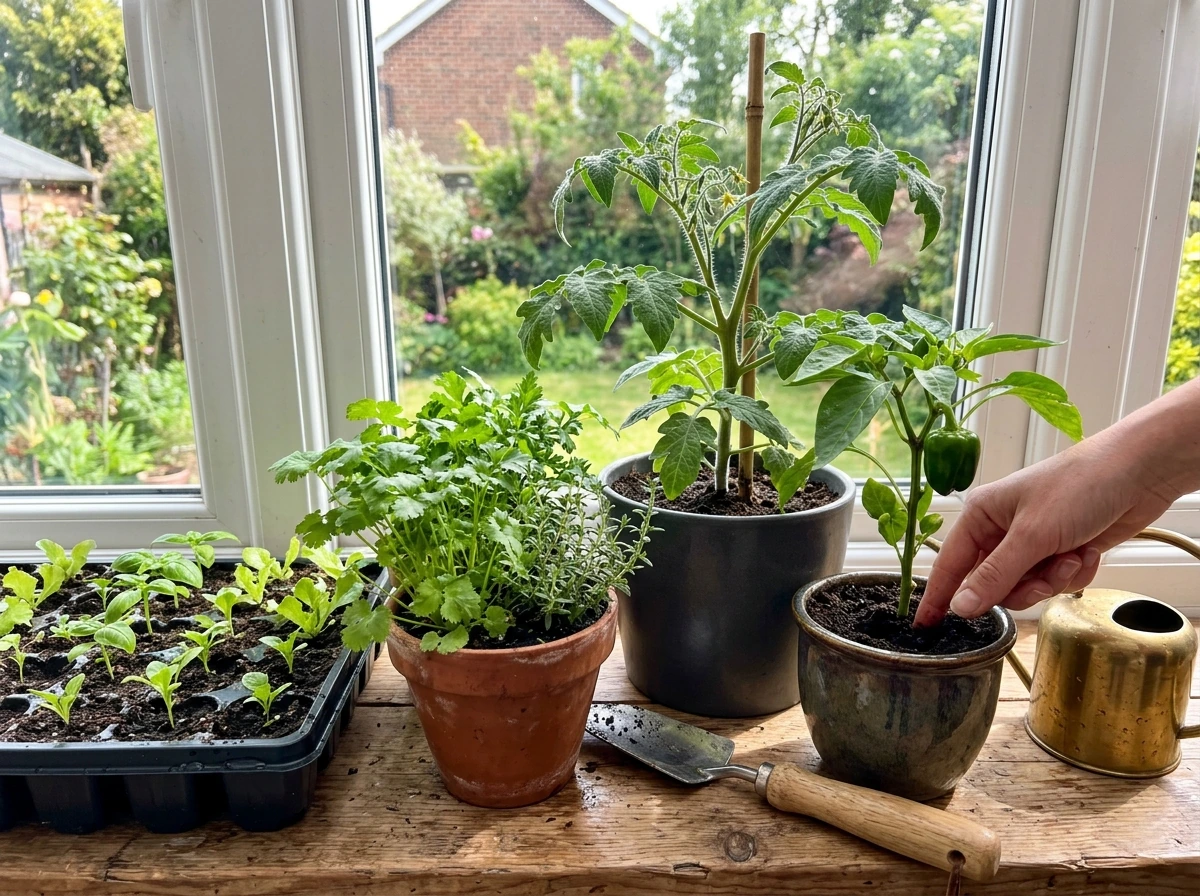
Soil and container gardening
Soil is the most forgiving starting point for beginners. A good potting mix (not garden soil, which compacts badly in containers) provides structure, some nutrients, and a buffer against both overwatering and underwatering. For food plants, use a mix labeled for vegetables or add perlite to standard potting mix at roughly a 1:4 ratio to improve drainage. Most food plants in containers need to be watered when the top inch of soil is dry, which in a warm indoor environment often means every 1 to 2 days in summer.
Growing in water (cuttings and regrowth)
Several food plants regrow in plain water: green onion bottoms, celery bases, romaine lettuce stumps, and herb cuttings like basil and mint. This works well for a quick continuous harvest but has limits. Plants grown long-term in plain water will eventually run out of nutrients and stall. If you want to keep them growing beyond the initial regrowth phase, add a few drops of liquid fertilizer to the water every couple of weeks and change the water every 3 to 4 days to prevent bacterial buildup.
Hydroponics
Hydroponics delivers nutrients directly to roots via a water solution, which can produce faster growth and larger yields in less space than soil. The learning curve is steeper because you're managing the nutrient solution rather than letting soil do that work. Two key numbers to track: pH (controls nutrient availability, target 5.5 to 6.5 for most edibles) and electrical conductivity or EC (measures nutrient concentration in the solution). OSU Extension emphasizes that both matter for edible crops, and Virginia Tech's hydroponic guidance specifically calls out the need for meters to monitor EC, pH, and dissolved oxygen in nutrient film technique (NFT) systems. For a beginner, a simple deep water culture (DWC) bucket system or a pre-built countertop unit is much easier to manage than an NFT setup.
Terrariums for edibles (limited but useful)
Closed or semi-closed terrariums are not ideal for most food plants because edibles generally need airflow and don't thrive in high-humidity sealed environments. The exception is microgreens or sprouts grown in a loosely covered tray, which benefits from a bit of humidity early on. Open terrariums can work for herbs if they're shallow enough to allow drainage. Think of it as a specialized tool rather than a go-to growing method for food.
| Method | Best For | Effort Level | Biggest Risk | Recommended For |
|---|---|---|---|---|
| Soil/containers | Most vegetables, herbs, tomatoes | Low to medium | Overwatering, poor drainage | All beginners |
| Water regrowth | Green onions, lettuce stumps, herb cuttings | Very low | Bacterial rot in stagnant water | Anyone with a windowsill |
| Hydroponics (DWC) | Lettuce, herbs, small tomatoes | Medium to high | pH/EC imbalance, pump failure | Intermediate growers |
| Hydroponics (NFT) | Large-scale leafy greens | High | Clogged channels, pathogen buildup | Experienced growers |
| Terrarium | Microgreens, humid-loving herbs | Low | Mold, poor airflow | Very small spaces |
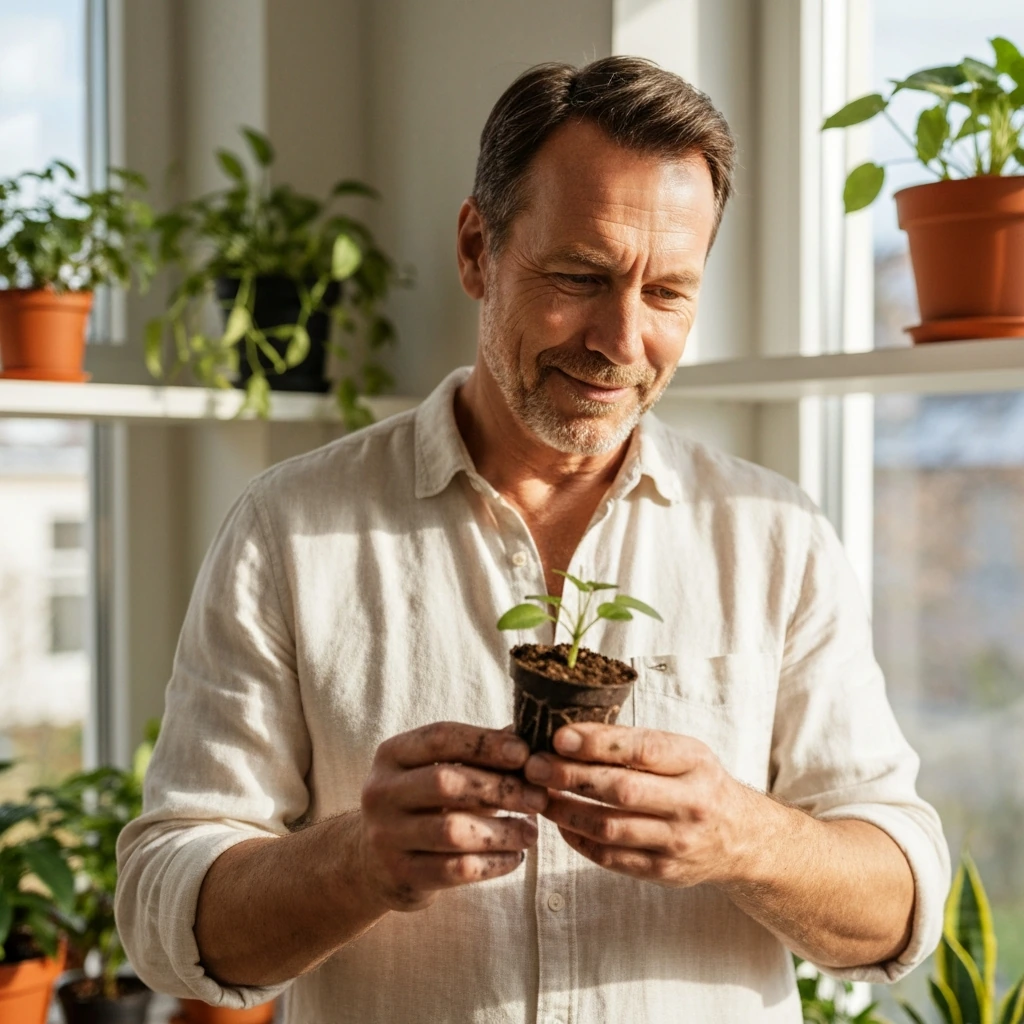
From seed to seedling: a step-by-step planting plan
This is where most beginners either rush or overthink. Here's a clear sequence that applies to almost every food plant you'll start from seed.
- Fill a seed-starting tray or small pots with moist (not soaking) seed-starting mix. This is lighter than regular potting soil and allows delicate roots to push through easily.
- Plant seeds at the depth listed on the packet, roughly 2 to 3 times the seed's diameter as a general rule. Planting too deep is one of the top reasons seeds fail to emerge.
- Mist the surface gently with a spray bottle so you don't disturb seeds. Cover the tray loosely with a plastic dome or wrap to hold moisture and warmth during germination.
- Place the tray somewhere warm. Most vegetable seeds germinate best between 65 and 75°F. Basil and tomatoes prefer the warmer end of that range. Illinois Extension recommends 70 to 75°F for seedlings specifically.
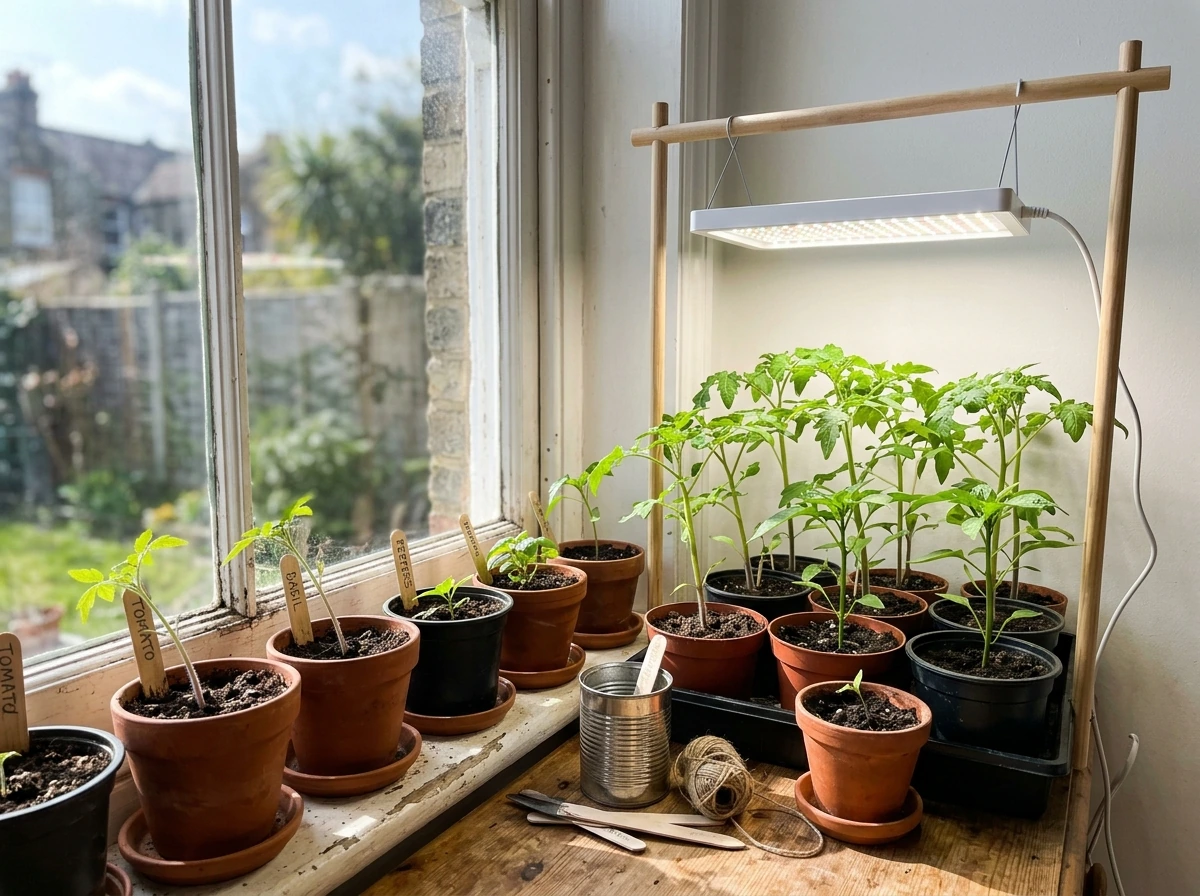
- Check daily. As soon as you see sprouts emerging, remove the cover and move seedlings immediately to bright light. This is the step most people miss, and it causes the leggy, floppy seedlings that fall over.
- Provide 12 to 16 hours of light per day. UMN Extension and Illinois Extension both cite this range as the target for healthy seedlings. If you're using a grow light, keep it about 4 inches above the seedling tops.
- Water from below when possible (set the tray in a shallow dish of water and let it absorb for 20 minutes) to keep the surface from staying too wet. Constantly wet soil surfaces are the main driver of damping-off.
- Begin light feeding once the first true leaves appear (these are the second set of leaves, after the initial seed leaves). Use a diluted liquid fertilizer at half the recommended dose to start.
When to transplant
Transplant seedlings when they have 2 to 3 sets of true leaves and roots just beginning to poke out the drainage holes. For tomatoes specifically, UMN Extension recommends starting them indoors 5 to 6 weeks before the last frost date and transplanting in the late afternoon or on overcast days to reduce transplant stress. If you're moving plants outside, harden them off first: set them outside in a sheltered, shaded spot for a few hours a day over 7 to 10 days, gradually increasing exposure to direct sun and wind.
The growing conditions that actually move the needle
Light
Light is not negotiable. It drives photosynthesis, which drives everything else. Leggy, pale, weak seedlings are almost always a light problem before they're a watering or nutrient problem. Outdoors, most fruiting vegetables (tomatoes, peppers, cucumbers) need 8 or more hours of direct sun. Leafy greens can get by with 4 to 6 hours. Indoors, a bright south or west window helps, but grow lights make a dramatic difference. Keep LED grow lights 4 inches above seedlings and raise the light as plants grow.
Temperature
Each plant has a temperature sweet spot. Tomatoes do best at 70 to 80°F during the day and 60 to 70°F at night (Clemson Extension). Penn State Extension notes that temperatures above 90°F or below 55°F stall tomato growth and pollination. Lettuce prefers cooler conditions: UW-Madison Extension cites 65 to 70°F days and 45 to 55°F nights as ideal, and heat causes bolting (the plant shoots up and goes bitter). Basil collapses below 50°F, so don't put it outside until nights are reliably warm.
Spacing and airflow
Cramming plants together feels efficient but causes more problems than it solves. Tomatoes need 24 to 36 inches between plants according to OSU Extension guidance. Lettuce can be thinned to 6 to 8 inches for full heads, or left more crowded for cut-and-come-again baby leaf harvests. Poor airflow between dense plants creates humid microclimates where fungal disease takes hold fast. Indoors, a small fan set to low on a timer helps mimic outdoor air movement, strengthens stems, and reduces fungal pressure significantly.
Watering consistency
Inconsistent watering causes more plant deaths than almost anything else. The goal is evenly moist soil, not wet and then bone dry. For container plants, water thoroughly until it drains from the bottom, then wait until the top inch is dry before watering again. In hot weather or small pots, that might be daily. In cool weather or large pots, every 3 to 4 days. Learn to read your specific plant and pot combination rather than following a fixed schedule.
Feeding
Most potting mixes include enough nutrients for 4 to 6 weeks. After that, plants in containers depend on you for food. A balanced liquid fertilizer (look for roughly equal nitrogen, phosphorus, and potassium numbers on the label, like 5-5-5) applied every 2 weeks works well for leafy crops. Fruiting plants like tomatoes benefit from higher potassium during flowering and fruiting to support fruit development. Don't over-fertilize: too many salts in the soil can burn roots and contribute to damping-off in seedlings, as UMN Extension notes.
Harvesting, saving seeds, and getting a second crop
When and how to harvest
Harvest timing makes a bigger difference than most people expect. Lettuce baby leaves can be cut starting around 25 days from seed, and MSU Extension notes that cut-and-come-again harvesting can be repeated 1 to 3 times at roughly 10-day intervals if you cut above the growing point. Basil should be harvested before it flowers; once it bolts, leaf quality drops and flavor turns bitter. Snip just above a leaf node pair and the plant will branch and produce more leaves. Herbs in general are best harvested in the morning, before the sun has reduced their essential oil content, and Illinois Extension cautions to confirm plants haven't been sprayed with pesticides before you eat them.
For tomatoes, timing by calendar isn't reliable because it varies by cultivar. Early types mature in about 50 to 60 days from transplant, mid-season around 75 days, and later types up to 85 days or more. Harvest when fruit fully colors and gives slightly under gentle pressure. Don't refrigerate fresh tomatoes; cold temperatures destroy the texture and flavor compounds.
Saving seeds for next time
Saving seeds is straightforward if you follow a few rules. Only save from healthy plants because disease can be seed-borne, and UMN Extension is clear that seeds from sick or rotten produce risk spreading pathogens. Choose your best-performing plants. For tomatoes and peppers, let fruit fully ripen before extracting seeds. Rinse, dry completely on a paper towel for at least a week, then store in a labeled paper envelope in a cool, dry, dark place. Most vegetable seeds stay viable for 2 to 5 years if stored properly.
Regrowing from scraps
Green onion bottoms, celery bases, and romaine lettuce hearts will regrow in a shallow dish of water on a bright windowsill. These aren't full replacements for a new plant but give you usable leaves within a week with no seeds or setup required. Change the water every 2 to 3 days and trim any slimy portions to keep it clean. Eventually the regrowth slows and it makes more sense to start fresh.
When things go wrong: diagnosing and fixing the most common problems
Every grower loses plants. The goal is to lose fewer as you go. Here's how to read what your plants are telling you and what to do about it.
Leggy, floppy seedlings
This is almost always insufficient light. Seedlings stretch toward whatever light they can find, producing long, weak stems that can't support the plant. Fix it by moving seedlings closer to your light source (4 inches from a grow light is the target from Illinois Extension), increasing daily light hours to 14 to 16, or adding a second light. You can bury tomato stems deeper when transplanting, which is one of the rare situations where a leggy seedling isn't a total loss.
Damping-off (seedlings collapse at soil level)
Damping-off is a fungal disease that rots seeds before emergence or causes seedlings to collapse at the soil line right after sprouting. Penn State Extension describes it as destruction of newly emerged seedlings by soil-borne fungi. The cause is almost always a combination of overwatering, low light, cool soil, and poor airflow. USU Extension specifically links outbreaks to seeds planted too deep and consistently waterlogged conditions. Prevention is much easier than treatment: use fresh seed-starting mix (not reused soil), water from the bottom, ensure 12 to 16 hours of light, keep temperatures at 70°F or above for seedlings, and run a small fan for airflow. Once damping-off takes hold in a flat, it usually spreads. Remove affected seedlings immediately and let the medium dry slightly.
Yellowing leaves
Yellow leaves have several causes and the pattern tells you which one you're dealing with. Yellowing of older, lower leaves first usually signals nitrogen deficiency; the plant is moving nitrogen up to support new growth. Yellowing of new growth first suggests iron or manganese deficiency, which is often actually a pH problem rather than a missing nutrient. In hydroponics, pH outside the 5.5 to 6.5 range locks out nutrients even when they're present in the solution. In soil, add a balanced liquid fertilizer and make sure you're watering adequately so nutrients can move through the root zone.
Bolting (plants flowering too early)
Bolting is the plant's response to stress, usually heat or long days. Lettuce and basil are particularly prone. Once a plant bolts, leaves become bitter and the plant puts energy into seed production rather than the leaves you want. Prevention is the only real solution: grow lettuce in cooler weather, provide afternoon shade in summer, and harvest basil regularly before it can flower. If bolting has started, you can cut the flower stalk off and sometimes coax a few more weeks of leaf production, but flavor will be reduced.
Root rot and overwatering
Root rot looks like wilting even though the soil is wet. Roots turn brown and mushy instead of white and firm. It's caused by overwatering and poor drainage. Check that your container has drainage holes and that they're not blocked. If you catch it early, remove the plant from its pot, trim off any black or mushy roots, let them air dry for an hour, and repot in fresh dry mix. Let the plant dry out significantly before watering again.
Common pests
Aphids cluster on new growth and under leaves, producing a sticky residue. Knock them off with a strong water spray and follow up with insecticidal soap spray every few days. Fungus gnats are tiny flies whose larvae live in moist soil and chew on roots. Let the top 2 inches of soil dry completely between waterings to kill larvae. Spider mites appear as fine webbing on leaves and cause stippled, dull foliage; increase humidity around the plant and use neem oil or insecticidal soap. Whiteflies look like tiny white moths that flutter up when you disturb the plant; yellow sticky traps combined with insecticidal soap work well. For all pests, inspect plants weekly and catch infestations early before they spread.
Nutrient burn
Brown, crispy leaf tips, especially on newer growth, usually indicate too much fertilizer or salt buildup in the soil. Flush the pot thoroughly with plain water until it runs freely from the drainage holes, then hold off feeding for 2 to 4 weeks. Cut your fertilizer dose in half going forward. More fertilizer does not mean faster growth; it usually means slower growth and damage.
Seeds that never germinate
If seeds haven't sprouted after twice the expected germination window on the packet, the likely causes are: soil too cold (add a heat mat), seeds planted too deep, soil too dry during the germination window (it should stay consistently moist but not soaked), or old seeds with low viability. Test older seeds by placing 10 on a damp paper towel, folding it up, and checking after the expected germination days. If fewer than 5 sprout, the seed lot isn't worth planting.
Growing food plants is genuinely learnable, so if you’re wondering how do crops grow in the real world, start with something fast and forgiving like lettuce, green onions, or basil. Start with something fast and forgiving like lettuce, green onions, or basil, get your light situation sorted, and pay attention to what your plants look like week to week. The problems covered above are the same ones every grower faces, and recognizing them early is what separates someone who eventually harvests dinner from someone who gives up after the first failure.
FAQ
What should I grow if I do not have strong sunlight or a grow light yet?
If you do not have at least a bright window or a grow light, start with crops that tolerate lower light and short days, like some lettuces and herbs, and plan to supplement lighting once you notice stretching. As a rule of thumb, if seedlings are getting taller quickly with pale leaves, that is your cue the light is inadequate, not that watering or fertilizer will fix it.
Can I still grow good food from store-bought produce seeds if the variety is hybrid?
For direct-from-produce starts, assume hybrid seeds may not produce the same variety, but they can still be perfectly edible. If you want more predictable plants next season, save seeds only from open-pollinated plants and label what you saved (plant, date, and source fruit).
Is it okay to keep food plants growing in water the whole season?
Yes, but only when you match the method to the plant. Many “water-regrow” items (green onions, celery, lettuce stumps) can live in water temporarily, then should be moved to soil or compost once you want lasting growth. For long-term harvests, plan to transition to soil or a nutrient solution, since plain water runs out of usable nutrients.
Why are terrariums or sealed containers usually a bad idea for growing edible plants?
Avoid sealed containers for most food plants because stagnant, high-humidity conditions encourage fungal problems and nutrient issues from poor oxygen to roots. If you try a loosely covered tray, treat it as a short-term humidity aid for sprouts or microgreens, and always prioritize airflow and easy drainage.
My plant is turning yellow, how do I know what the problem actually is?
If you are seeing yellow leaves, decide what pattern you have before you change inputs. Yellowing on older leaves first often points to nitrogen moving out, while yellowing on new growth often points to a pH-related nutrient lockout (especially in hydroponics). In soil, you will usually get faster results by checking watering and using a balanced fertilizer rather than adding more of only one nutrient.
What are the most common reasons seeds fail to sprout, and how can I diagnose quickly?
If seedlings are not sprouting, do not keep replanting into the same conditions. Check soil temperature, planting depth, and moisture consistency for the entire germination window, then run a quick viability test on a small sample if the packet is old. Also remember that too-cold or waterlogged starting mix can delay or rot seeds.
If I get damping-off, what should I do immediately and what changes prevent it next batch?
When damping-off starts, removal is usually better than trying to “save” the affected seedlings. After pulling them, improve airflow, increase light duration, and adjust watering to keep the starting mix from staying waterlogged. Prevention matters most, especially using fresh seed-starting mix and not reusing old soil.
How do I tell whether slow growth is from lack of fertilizer or fertilizer damage?
If you fertilize and growth slows, you may have salt buildup or root stress. Flush the container thoroughly, stop feeding for a short window, and then use a reduced dose. For leafy crops, stick to a balanced fertilizer at the lower end of the label rate until the plant is stable.
What extra precautions should I take for balcony food plants compared with a garden bed?
For outdoor containers on higher floors, wind stress can knock flowers off and dry soil fast. Use staking early for tall plants, add a windbreak if possible, and consider moving containers into a slightly more sheltered spot during windy periods rather than waiting for damage to show up.
How can I increase fruit set if my tomatoes or peppers flower but do not produce fruit?
Tomatoes and many fruiting vegetables need pollination for fruit set, and indoor setups often struggle with that. If you grow indoors or on a balcony with limited pollinators, gently shake plants when blossoms are open (or use a small soft brush to move pollen). Fruit set failures can look like “plants are healthy but no tomatoes,” even when watering and fertilizer are fine.