Here is the short answer: pick a plant that matches your actual light and schedule, give it the right medium and container, water only when the soil needs it, and check on it once a week. That covers 90% of what beginners need. The rest of this guide fills in every detail of that process, from seed to harvest, across soil, water, and hydroponic setups, so you can start growing today and actually keep your plants alive.
How Do I Grow Plants? Beginner to Hydroponics Guide
Marcus Holloway
24 Mar 2026
Pick the right plant and match it to your space
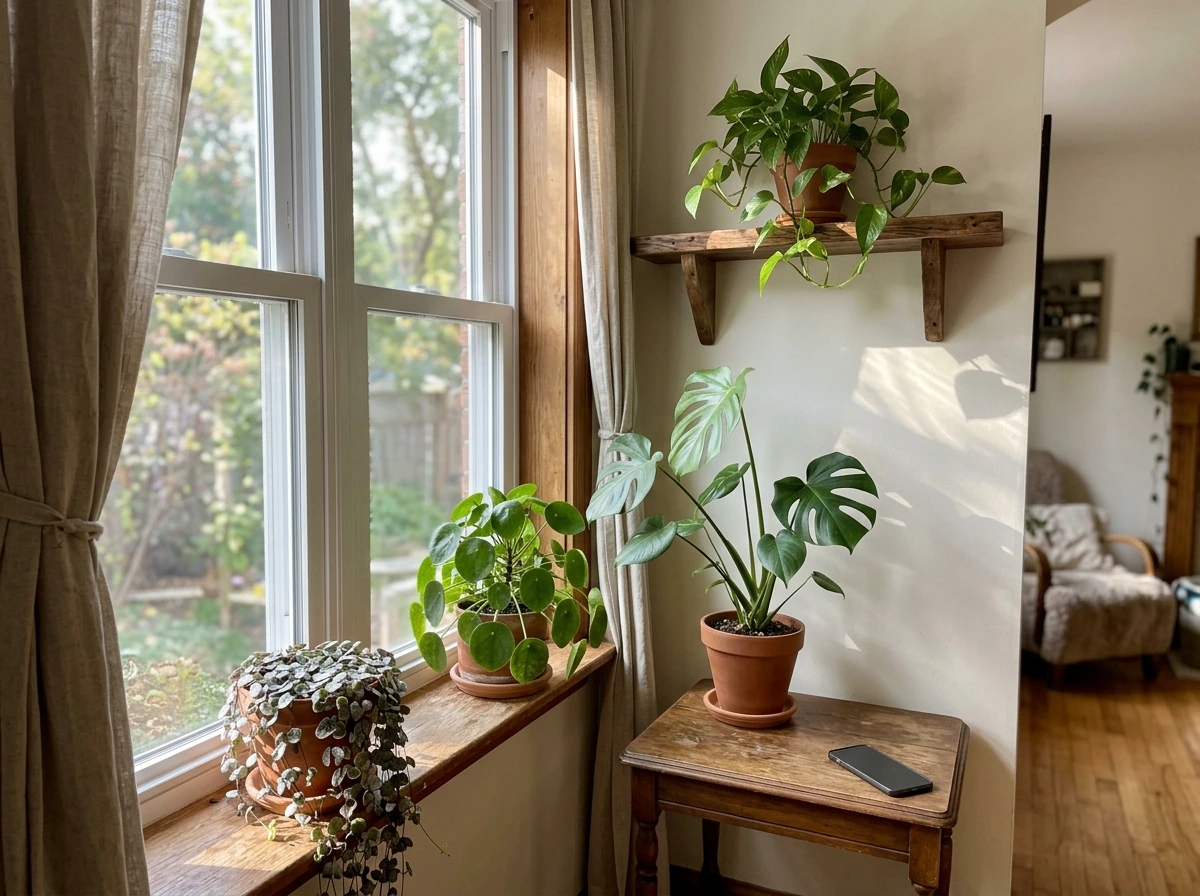
The single biggest reason beginners fail is choosing a plant that does not match their environment. Before you buy anything, walk through your space and honestly assess your light. A south-facing window in full sun is very different from a north-facing room that stays dim all day. Your plant needs to fit the space you actually have, not the one you wish you had.
If your light is limited, start conservative. Snake plants are genuinely one of the best beginner choices: they tolerate low light better than almost any other common houseplant, need minimal watering, and are long-lived. Spider plants are another excellent option for low-to-medium indirect light, and they handle average moisture levels without fuss. Peace lilies manage in low light too, though they flower best with indirect sun. If you have a bright, sunny windowsill or an outdoor spot, basil is a great starter edible: it thrives with 6 to 8 hours of bright light per day and produces something useful you can actually eat.
Think honestly about your schedule too. A plant that needs daily watering is not a good match if you travel often. A slow-growing succulent suits a low-maintenance life. A fast-growing herb like basil suits someone who checks in every day. Match the plant to your real life and you are already ahead.
| Plant | Light Needed | Watering Frequency | Best For |
|---|---|---|---|
| Snake Plant | Low to indirect | Every 2–4 weeks | Beginners, dim rooms, travelers |
| Spider Plant | Indirect | Every 7–10 days | Beginners, shelves, hanging baskets |
| Peace Lily | Low to indirect | Weekly | Low-light rooms, flowering interest |
| Basil | 6–8 hrs direct/bright | Every 7–10 days (deep) | Sunny windowsills, edible gardens |
| Tomato (seedling) | Full sun (6+ hrs) | Every 2–3 days in heat | Outdoor gardens, larger containers |
Plant growth basics you can actually act on
Plants need five things: light, water, nutrients, the right temperature, and a medium to anchor their roots. Understanding how each one works means you can diagnose a problem yourself instead of guessing.
Light
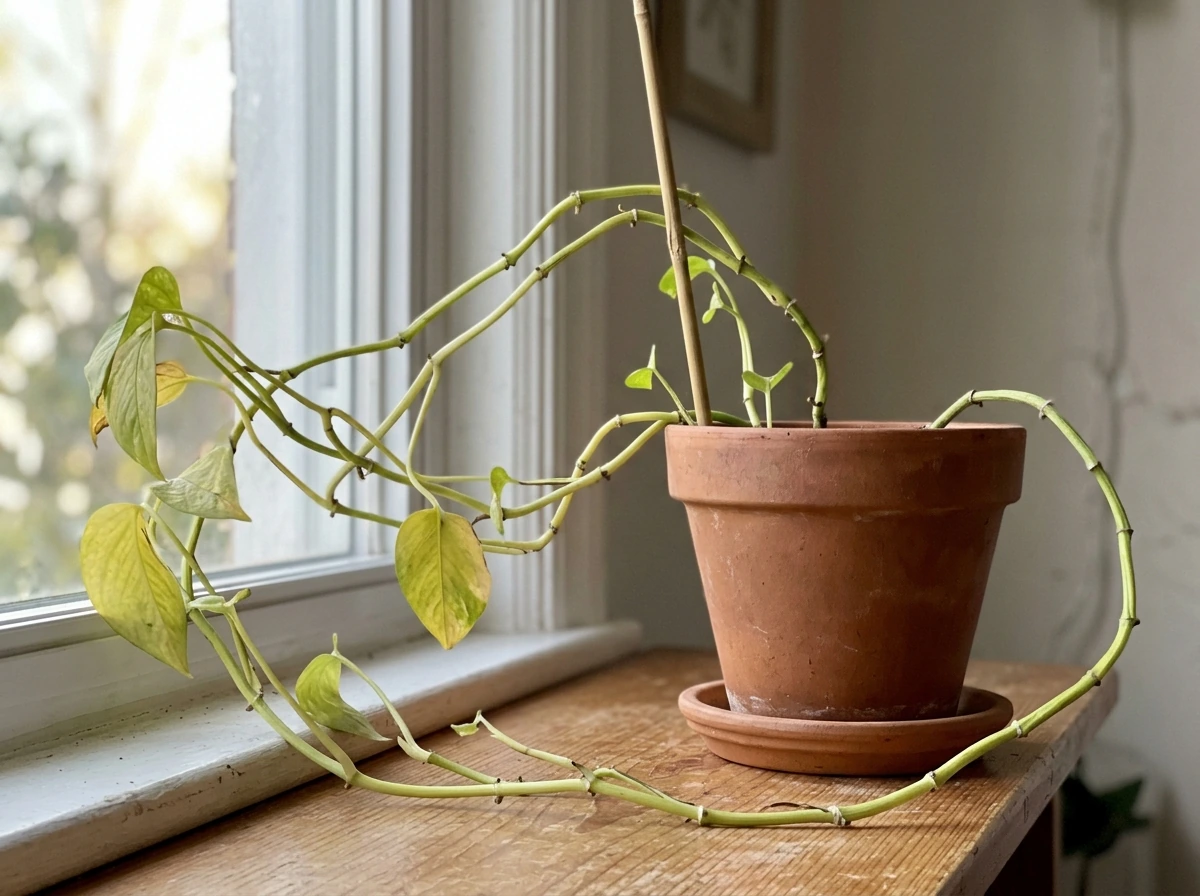
Light is food for plants. Without enough of it, growth slows, stems stretch toward the nearest window (that leggy, floppy look is a classic sign), and leaves fade or yellow. Too much direct sun scorches leaves and dries out the medium fast. Most houseplants want bright, indirect light, meaning near a window but not baking in direct rays. Herbs and vegetables want direct sun, ideally 6 or more hours per day. If your space is genuinely dark, a basic grow light on a timer (12 to 14 hours per day) solves the problem without redesigning your apartment.
Water
The most reliable way to check if a plant needs water is also the simplest: stick your finger into the soil about two inches deep. If it feels dry at that depth, water thoroughly. If it still feels moist, leave it alone. Wilting can mean underwatering, but it can also mean overwatering, because waterlogged roots cannot deliver moisture to the plant. Do not assume wilting means your plant is thirsty. Check the soil first.
Nutrients
A good potting mix already contains nutrients, but those get depleted over months of watering. A balanced liquid fertilizer applied every two to four weeks during the growing season (spring through early fall) is enough for most houseplants. Yellowing older leaves often signal a nitrogen deficiency. Purple-tinted leaves or poor flowering can indicate phosphorus or potassium shortages. When in doubt, use a balanced formula (labeled something like 10-10-10 or 20-20-20) and follow the dilution instructions. More is not better with fertilizer.
Temperature
Most common houseplants are comfortable in the same temperature range humans prefer: roughly 60 to 80°F (15 to 27°C). Cold drafts from windows in winter and heat blasts from air vents both stress plants. Basil in particular hates cold: keep it above 50°F or it sulks and blackens. Tomato seeds germinate best at 70 to 75°F, while basil seeds prefer 65 to 70°F. A heat mat under a seed tray can make a real difference in germination speed when your home is on the cooler side.
How to start from seed, seedling, or cutting
You have three main starting points: seeds, purchased seedlings, or cuttings from an existing plant. Each has a different timeline and skill level.
Starting from seed
Fill a small tray or cell pack with a quality seed-starting mix (not regular potting soil and definitely not garden soil, which is too dense and harbors pathogens). Sow seeds at the depth listed on the packet, usually two to three times the seed's diameter. Keep the medium moist and warm. A heat mat helps until about 50% of seeds have sprouted, at which point the priority shifts from warmth to light. Move seedlings under a grow light or to your brightest window as soon as you see them emerge. Basil typically germinates in 10 to 14 days at 65 to 70°F. Tomatoes sprout faster, usually in 5 to 7 days at 70 to 75°F.
Do not rush transplanting. Wait until the seedling has developed its first true leaves, not just the round seed leaves (cotyledons) that appear first. True leaves look like miniature versions of the adult plant's leaves. That is the sign the seedling has a real root system ready for more space.
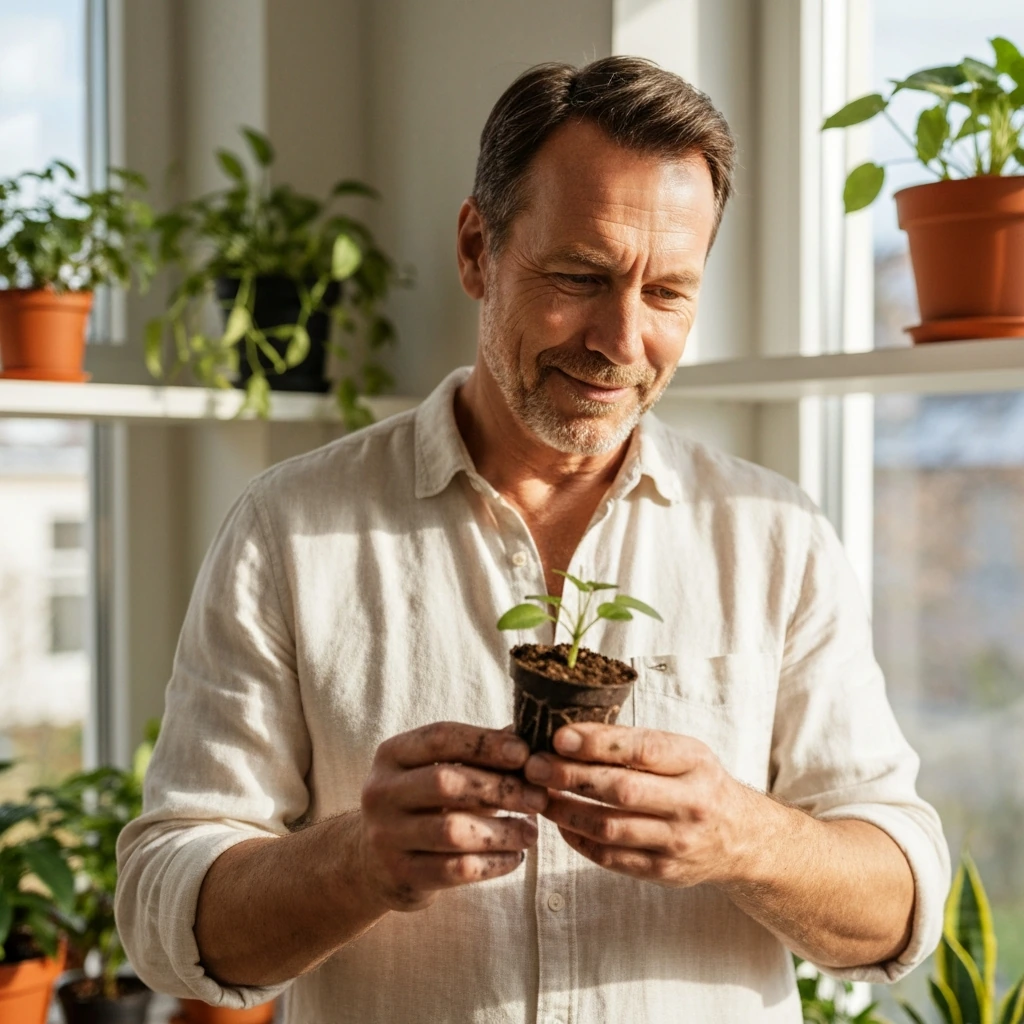
Starting from a seedling or transplant
Buying a seedling from a nursery skips the hardest part and gets you to results faster. Choose a healthy, compact plant with green leaves and no visible pests or yellowing. When you get it home, plant it in fresh potting mix in a container with drainage holes, water it in gently, and keep it in appropriate light for a week or two before moving or repotting again. New transplants need a little time to settle.
Starting from cuttings
Cuttings are one of the most satisfying and budget-friendly ways to grow plants, especially houseplants. Take a stem cutting 3 to 5 inches long, just below a leaf node (the little bump where a leaf attaches). Remove the lower leaves so no foliage sits in water or soil. The cutting you take should come from a healthy plant with no signs of disease, pests, or stress: a stressed parent plant produces poor cuttings. You can dip the cut end in a small amount of rooting hormone powder or gel before placing it in water or rooting medium, but use only a little because excess rooting hormone can actually slow root development rather than speed it up.
Growing in soil: setup, pots, and watering
Soil growing is the most forgiving method for beginners, and getting the setup right from the start saves a lot of headaches. The two non-negotiables are drainage holes and the right mix.
Choosing your container
Always use a container with drainage holes. No exceptions. Water sitting at the bottom of a pot with no outlet drowns roots and causes rot, which is one of the most common ways houseplants die. The size matters too: a pot that is much too large for the root ball holds excess moisture and stays wet too long between waterings, which also causes rot. Go up one pot size at a time when repotting, typically 1 to 2 inches larger in diameter than the current root ball.
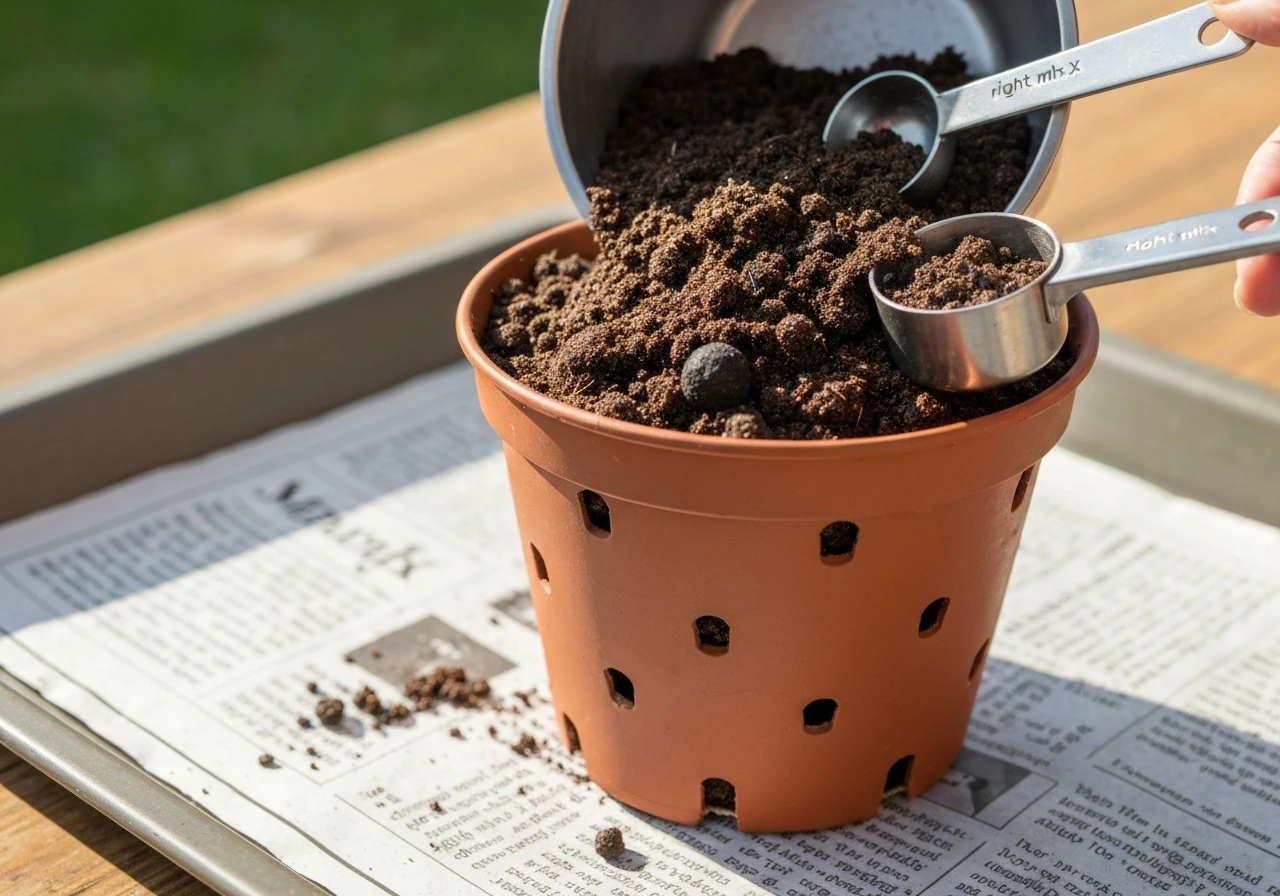
The right potting mix
Use a quality commercial potting mix for containers, not garden soil or compost from your yard. Garden soil compacts badly in pots and introduces weed seeds and potential pathogens. For most houseplants, a standard well-draining potting mix works well. For succulents and cacti, mix in extra perlite (about 50/50) for faster drainage. For herbs like basil, a standard mix with good drainage is fine.
A practical watering schedule
There is no universal watering schedule because every plant, pot, room, and season is different. The finger-test method described earlier is the most reliable guide. As a rough starting point, most houseplants in medium light need watering every 7 to 14 days. Basil in a sunny spot benefits from deep watering every 7 to 10 days. When you do water, water thoroughly until it drains from the bottom, then let the medium dry appropriately before watering again. Shallow, frequent watering keeps roots near the surface and makes plants less resilient.
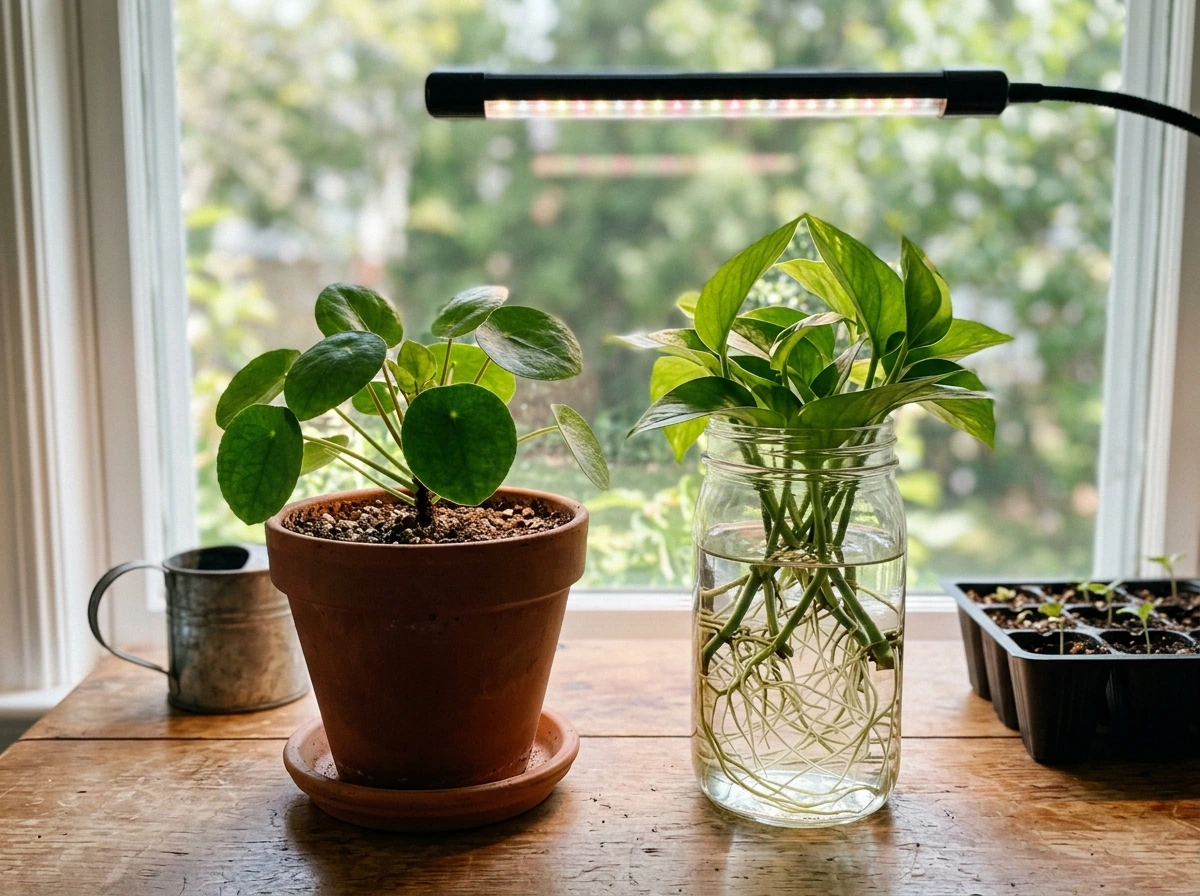
Growing in water: propagation and keeping cuttings alive
Water propagation is the easiest entry point into growing without soil, and it works brilliantly for a huge number of common houseplants including pothos, philodendrons, tradescantia, and many herbs. Place your prepared cutting (node in the water, no leaves submerged) in a clean glass or jar and set it in bright, indirect light. Change the water every 5 to 7 days to keep oxygen levels up and prevent bacterial buildup, which is the main cause of rot in water propagation.
Roots typically appear within 1 to 4 weeks depending on the plant and conditions. Once roots are 1 to 2 inches long, you can either transplant to soil or continue growing in water long-term. If you keep the cutting in water permanently, use a container that blocks light (opaque or dark glass) to reduce algae growth, and top off with fresh water regularly. A small amount of liquid fertilizer diluted heavily (about one quarter the recommended dose) every few weeks gives water-grown plants the nutrients they cannot get from the medium.
To keep humidity high while cuttings root in soil or a rooting medium, enclose the pot in a clear plastic bag or place a dome over it. This creates a mini greenhouse effect that prevents the cutting from drying out before roots form. Remove the cover for a short period each day to allow some airflow and prevent mold.
Hydroponics for beginners: systems, nutrients, and monitoring
Hydroponics means growing plants with roots in a nutrient solution rather than soil. It sounds complex, but a basic setup is simpler than most people expect, and it is genuinely rewarding once you understand what to monitor.
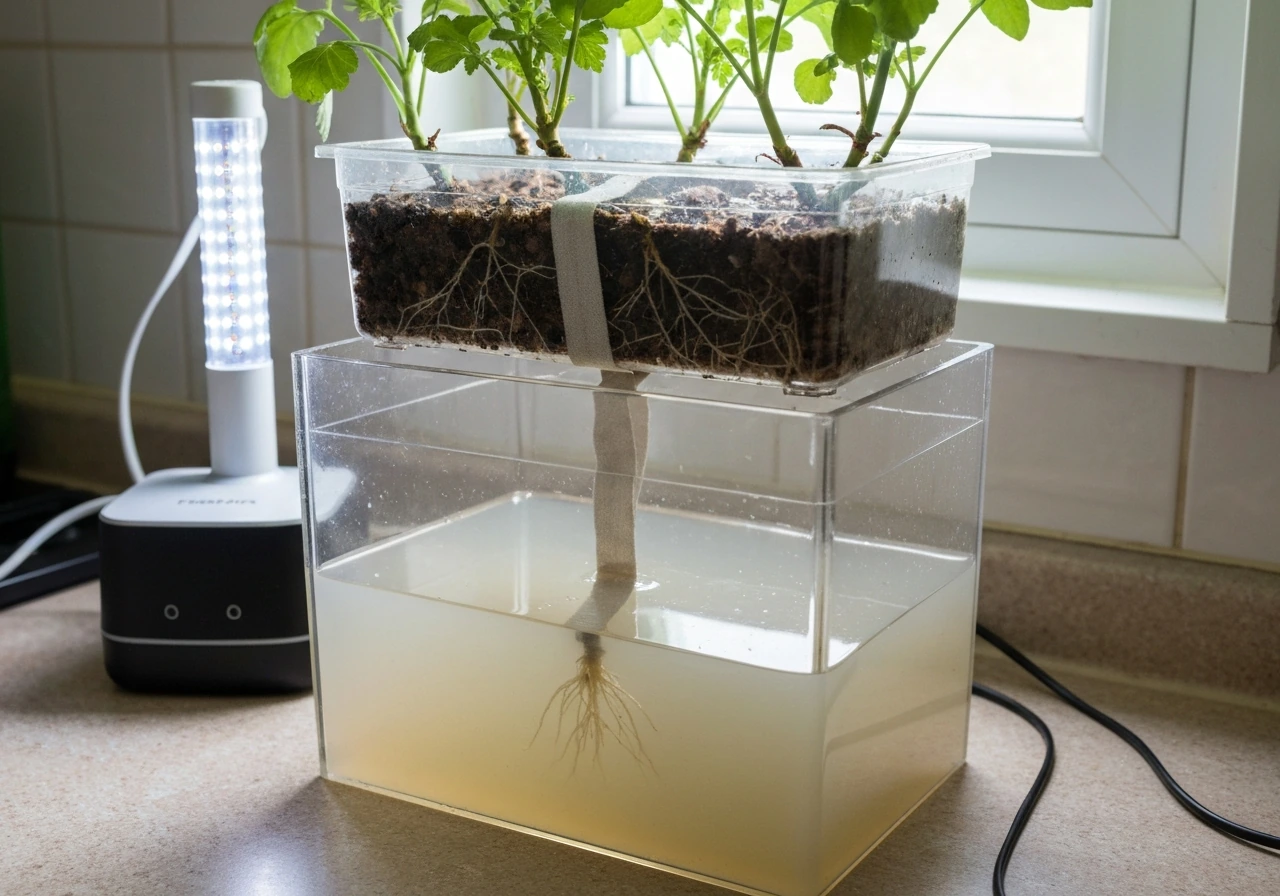
Start with a wick system
If you are brand new to hydroponics, start with a wick system. It is the simplest hydroponic method available: a reservoir of nutrient solution sits below the growing container, and an absorbent wick draws moisture up to the plant roots. There are no pumps, no timers, no electricity required. You fill the reservoir, the wick does the work, and you monitor the solution level and top it up as needed. It is ideal for smaller plants like herbs and lettuces.
Nutrients, pH, and EC
In hydroponics, you are the soil. You supply all the nutrients the plant needs through the water. Use a hydroponic-specific nutrient concentrate and mix it according to the instructions for your plant type. Two numbers matter most: pH and EC (electrical conductivity, which measures nutrient concentration). Most vegetables and herbs grow best in a pH range of 5.5 to 6.5. EC needs change as plants grow, typically starting lower for seedlings and increasing for mature plants. Both pH and EC shift over time as plants drink water and absorb nutrients, so you need to check and adjust them regularly, at least a few times per week.
Dissolved oxygen in the solution also matters: above 6 ppm is the target for healthy root development. In a wick system this is less critical, but in more active systems (like deep water culture or nutrient film technique), an air pump and airstone keep oxygen levels where they need to be. Pick up an inexpensive pH meter, an EC pen, and you will have everything you need to monitor your system confidently.
| System Type | Complexity | Best For | Key Equipment |
|---|---|---|---|
| Wick System | Very easy | Herbs, small leafy plants | Reservoir, wick, nutrient solution |
| Deep Water Culture (DWC) | Moderate | Lettuce, herbs, fast growers | Bucket, air pump, airstone, net pots |
| Nutrient Film Technique (NFT) | Moderate-Advanced | Lettuces, strawberries | Channels, pump, reservoir, timer |
| Kratky Method | Easy | Leafy greens, herbs | Container, net pots, nutrient solution (no pump) |
Terrariums and enclosed environments
A terrarium is a self-contained growing environment inside glass, and when set up correctly it can be almost self-sustaining. The key variables to manage are humidity, light, and airflow. Get any one of them wrong and you will deal with mold, rot, or plants that decline slowly without an obvious cause.
Setting up your terrarium
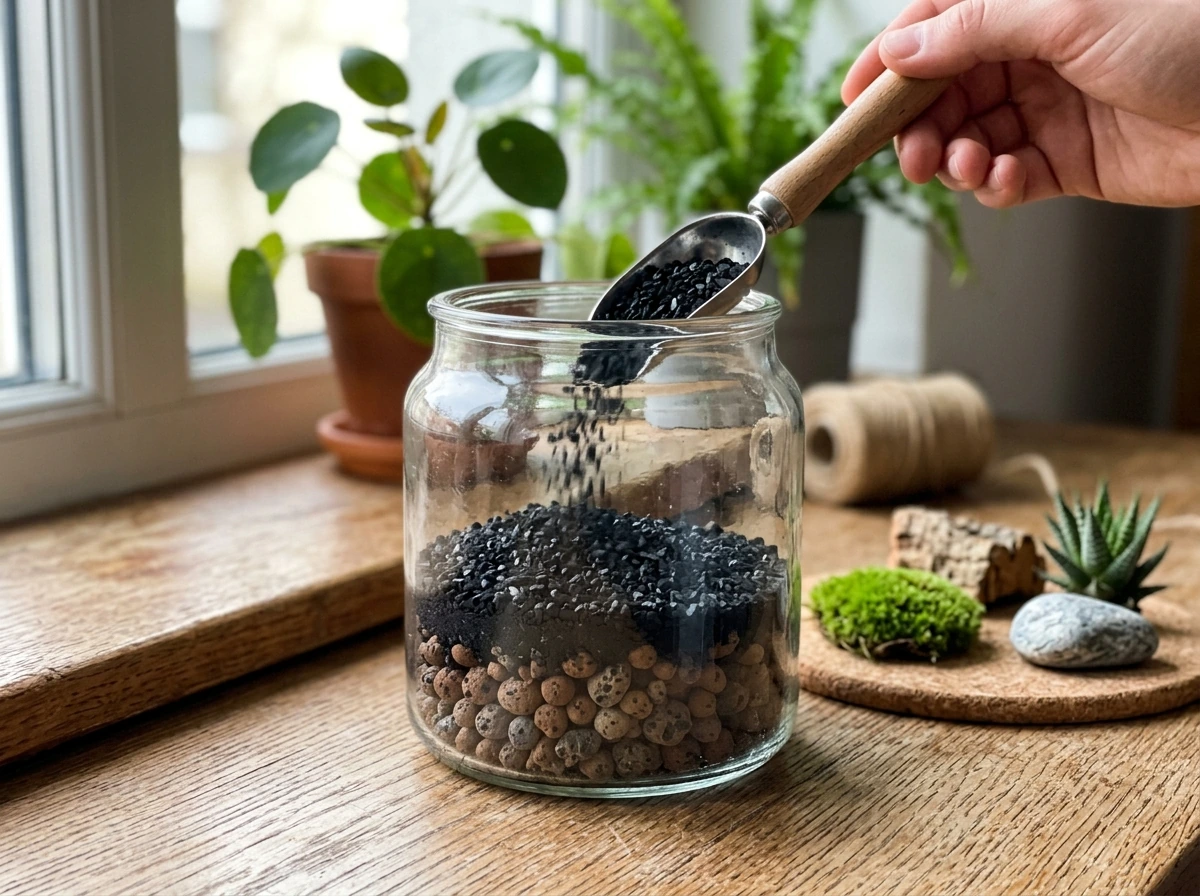
Start with a drainage layer at the bottom: pebbles or LECA (lightweight expanded clay aggregate) about an inch deep. Add a thin layer of activated charcoal on top of that. Charcoal helps neutralize toxins and odors and reduces the conditions where mold gets a foothold. Then add your substrate, which should be appropriate for the plants you choose. Tropical plants like ferns, mosses, and fittonias prefer a moisture-retentive, humus-rich mix. Succulents and cacti need a gritty, fast-draining mix and belong in open terrariums, not closed ones.
Managing humidity and preventing mold
In a closed terrarium, condensation on the glass walls is normal. Heavy water droplets that block your view entirely, or water beading on the outside of the glass, signal too much humidity. The fix is ventilation: open the lid for 30 to 60 minutes every few weeks, or more frequently if condensation is excessive. Ventilation is your main tool for controlling both humidity and temperature in a closed setup. Good light (indirect, bright) and airflow during those ventilation periods also discourage mold. If mold appears despite this, remove affected material immediately, reduce watering, and consider adding more activated charcoal to the substrate.
For lighting, place your terrarium in bright, indirect light or use a small LED grow light on a 12-hour timer. Avoid direct sun through glass, which magnifies heat and can cook plants quickly. Open terrariums with succulents can handle more light, while closed tropical terrariums prefer gentle, consistent indirect light.
Troubleshooting common problems and your weekly care checklist
Every grower deals with problems. The skill is recognizing them early and knowing which dial to turn. Here are the most common issues and what to check first.
Quick symptom guide
| Symptom | Most Likely Cause | What to Do First |
|---|---|---|
| Yellowing lower leaves | Overwatering or nitrogen deficiency | Check soil moisture; reduce watering or add dilute fertilizer |
| Leggy, stretched stems | Not enough light | Move to brighter spot or add a grow light |
| Wilting despite moist soil | Root rot from overwatering | Check roots; repot in fresh dry mix if roots are brown/mushy |
| Wilting with dry soil | Underwatering or heat stress | Water thoroughly; check temperature and airflow |
| Brown leaf tips | Low humidity, fluoride in tap water, or fertilizer salt buildup | Increase humidity; flush soil with water; use filtered water |
| White crusty deposit on soil | Fertilizer salt buildup | Flush pot thoroughly with plain water |
| Pale, faded leaves | Too much direct sun or nutrient deficiency | Move to indirect light; check fertilizer schedule |
| Sticky residue or tiny insects | Aphids, mealybugs, or scale | Wipe leaves with damp cloth; use neem oil spray |
| Mold on soil surface | Overwatering and poor airflow | Reduce watering; improve air circulation |
| No growth for weeks | Too little light, wrong temperature, or root-bound | Diagnose light first; check if roots are circling pot |
Your weekly plant care routine
A weekly check-in takes about 5 to 10 minutes per plant and catches most problems before they become serious. Here is what to do each week:
- Check soil moisture with the two-inch finger test. Water only if the medium is dry at that depth (or follow your plant's specific needs).
- Look at the leaves: check the top and underside for spots, discoloration, pests, or unusual texture.
- Assess the light: has the season changed? Is the plant getting less sun than a month ago? Adjust placement or grow light hours if needed.
- Check for any fallen leaves or dead material and remove them to prevent mold and pests.
- For hydroponics: check and adjust pH and EC, top off the reservoir with fresh nutrient solution, and check oxygen levels if using an active system.
- For terrariums: look at condensation levels. Open the lid briefly if condensation is heavy. Check for mold.
- For cuttings in propagation: check for root development and refresh the water if propagating in water.
- Give leaves a gentle wipe if dusty, especially for houseplants in low-light spots where dust reduces light absorption.
What to do this week if you are just starting out
If you have killed plants before, start with one snake plant or spider plant in a container with drainage holes, filled with standard potting mix. Put it in the brightest indirect light you have. Water it when the soil is dry two inches down, and check on it once a week. Do nothing else for a month. Once you feel confident it is thriving, add a second plant or try a cutting in water. Build from there. Most plant failure comes from overcomplicating things early, not from lack of care. how to grow plants and trees
If you want to go straight into food growing, pick basil for an indoor sunny windowsill or a small tomato variety for an outdoor container. Both are beginner-friendly, fast-rewarding, and well-documented. And if you are ready to explore hydroponics, a simple wick system with a packet of hydroponic nutrients and a pH meter is a genuine weekend project that can be up and running for under $30. From there, the jump to more specialized setups like garden beds, crops, or larger hydroponic systems is just a matter of scaling up the same principles you already know. how do crops grow
FAQ
Do I need to fertilize right away when I start growing plants?
Usually no. If you use a quality potting mix, nutrients are often present for a while, and seedlings especially can burn if fed too early. A practical rule is to start feeding after the plant is actively growing (often a few weeks after emergence or after transplanting), then switch to a regular schedule during spring through early fall.
How do I know if my plant is getting too much light or too little light?
Leggy, pale growth and slow development usually point to insufficient light. Scorched, crispy edges and leaf bleaching often point to too much direct sun. If unsure, move the plant gradually over 3 to 7 days, because abrupt changes can shock it.
What’s the best first plant if I keep forgetting to water?
Choose a forgiving species and a setup that avoids constant wetness. Snake plants and many succulents tolerate longer dry spells, but they still need to drain properly. Pair the plant with a pot with drainage holes and a well-draining mix, then rely on the finger test rather than a fixed calendar.
Should I use tap water, or do I need filtered water?
Tap water can work for most beginners, but issues can show up if your water is very hard or high in chlorine or fluoride. If leaves keep yellowing despite good light, check your water source and consider letting water sit overnight or using a basic filtration approach. Always avoid letting fertilizer and minerals build up unchecked in hydroponics.
Why are my leaves turning yellow even though I water correctly?
Yellowing can come from several causes, not just watering. Older leaves turning yellow often suggests nutrient imbalance (commonly nitrogen), while yellow leaves plus consistently wet soil suggests root stress from overwatering or poor drainage. The fastest decision aid is to check soil moisture at two inches and then inspect drainage, pot size, and the pattern of which leaves are affected.
How can I prevent mold when I’m starting seeds or rooting cuttings?
Mold usually means excess moisture plus low airflow. Use a seed-starting mix (not garden soil), avoid soaking the tray, and ventilate the dome or plastic bag daily once you see condensation. If you still see fuzzy growth, remove affected material and reduce moisture exposure rather than adding more heat or water.
When should I transplant a seedling, and how do I avoid shocking it?
Transplant after true leaves form, not just cotyledons, and water the seedling lightly before moving so the roots hold together. Then place it in the same light conditions for a few days (or increase light slowly) to avoid stress. If growth stalls, it often needs time to re-root, not more fertilizer.
What pot size should I choose so I don’t overwater?
Start close to the plant’s root ball. A pot that is much larger keeps extra soil wet too long, which increases rot risk. When repotting, move up only one size at a time (about 1 to 2 inches wider in diameter) and keep the drainage holes clear.
How often should I water in hydroponics, and can I use the same approach as soil?
In hydroponics, “watering frequency” isn’t the same concept as in soil. The key checks are solution level (top up as it drops), and pH and EC changes over time. Even in a wick system, you still need to monitor solution and adjust as plants grow, because nutrients get depleted and pH can drift.
Do terrariums need fertilizer?
Often not at first, because the environment stays relatively closed and nutrients are recycled slowly. However, many plants still benefit from occasional weak feeding if they grow for months. If the terrarium is small or the plants look pale, switch to very dilute fertilizer sparingly, and avoid overfeeding because excess nutrients can worsen algae and mold.
What’s the quickest way to troubleshoot a plant that suddenly looks worse?
Start with a 3-step check: light level change, soil or medium moisture, and root health indicators (smell, sogginess, or algae in water). Then reverse only one variable at a time (for example, move to brighter indirect light but keep watering the same) so you can identify what fixed it.
Can I grow plants outdoors if I live in a cold climate?
Yes, but choose temperature-tolerant plants and plan around nighttime cold. Basil and tomatoes need warmer conditions, so starting them indoors with a seed heat mat can help. For outdoor containers, use frost protection and consider moving pots into shelter when temperatures drop below the plant’s comfort range.