Growing plants in a garden comes down to matching the right plant to the right conditions, Growing plants in a garden comes down to matching the right plant to the right conditions, then then keep up with a few consistent habits.. You don't need a green thumb or years of experience.. You don't need a green thumb or years of experience. You need to understand your space, pick plants that actually suit it, and give them what they need week to week. This guide walks you through the whole process, from scoping out your yard to troubleshooting problems mid-season, so you can get something growing and keep it alive.
How to Grow Plants in a Garden: Step-by-Step Guide
Marcus Holloway
24 Mar 2026
Start with your site: sun, space, and climate
Before you buy a single seed or plant, spend a day watching your garden space. Sun exposure is the single biggest factor most beginners overlook. The easiest way to assess it is to make a simple sun chart: check your garden area in the morning, around midday, and in the afternoon, and note where the sun hits and where it doesn't. Do this on a clear day. What you'll often discover is that what looks like a sunny spot is actually only getting a few hours of direct light because of a fence, a tree, or the house itself.
Here's what the sun categories actually mean in practice: full sun is six or more hours of direct sunlight per day, partial sun or partial shade is roughly three to six hours, and shade is fewer than three hours. Some plants do better with morning sun (which is gentler) and struggle with harsh afternoon sun. Others need that afternoon heat to thrive. Matching the plant's label to your actual observed sun hours is a quick way to avoid a lot of frustration.
Climate and frost timing matter just as much. Your USDA Plant Hardiness Zone tells you the average minimum winter temperature in your area, which determines what plants can survive year-round and what must be grown as annuals. But for day-to-day planting decisions, the more useful numbers are your last spring frost date and your first fall frost date. These bookend your growing season and tell you when it's safe to put cold-sensitive plants in the ground. Look up your zone and frost dates before you plan anything, because planting tomatoes two weeks before your last frost is one of the fastest ways to lose a whole batch of seedlings.
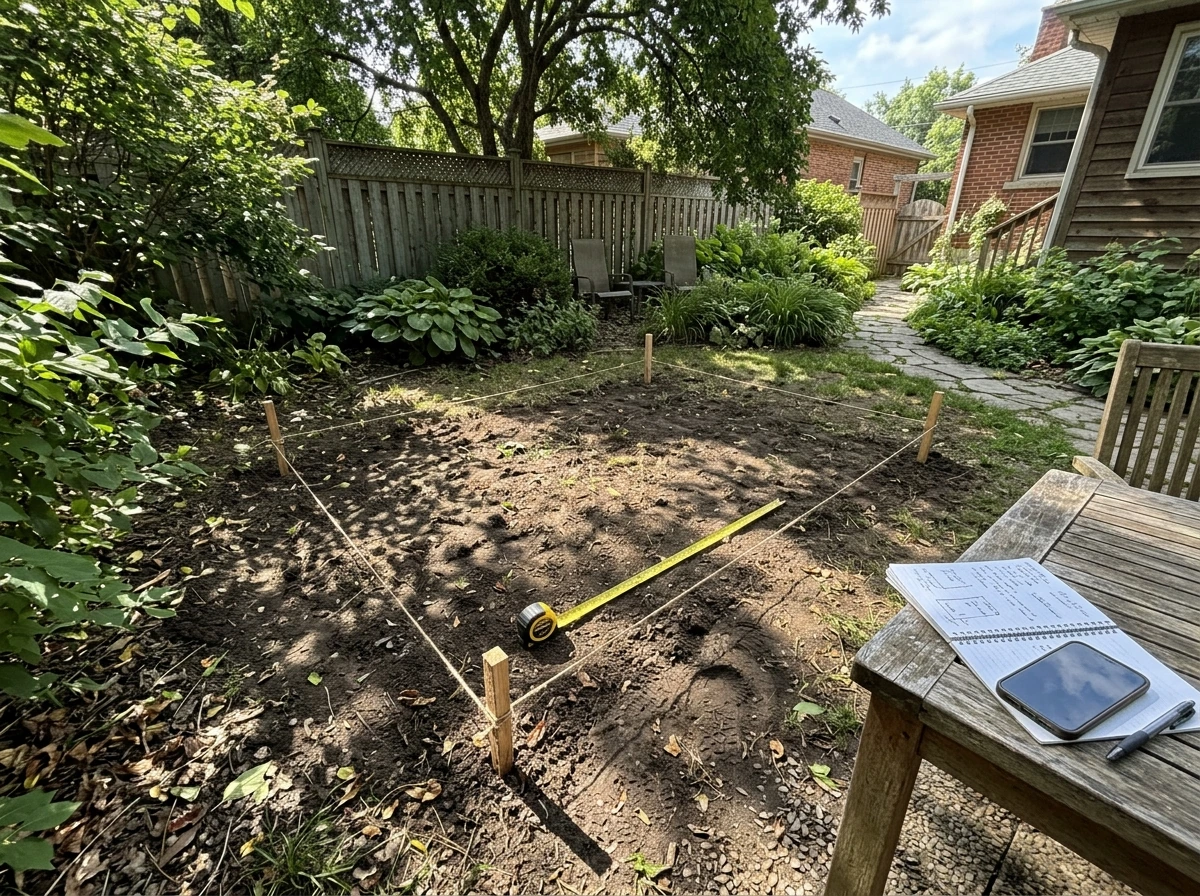
Also take note of your space constraints. A 4-foot-wide bed is about as wide as you want to go if you're working from one or both sides, because the average adult can just reach the center from either edge without stepping in and compacting the soil. If your garden is larger, think in 4-foot sections. And check drainage early. Dig a hole about 12 inches deep, fill it with water, and see how long it takes to drain. If water is still sitting there after an hour, you have slow drainage that will rot roots. If it drains in under ten minutes, you have fast-draining sandy soil that will dry out quickly. Both situations are manageable once you know what you're working with.
Choose plants that actually match your conditions
The classic gardening mistake is falling in love with a plant at the nursery and buying it without checking whether it suits your conditions. The nursery tag is your friend: look at the sun requirements, mature size, and hardiness zone. If a plant needs full sun and your garden gets four hours, it will survive but it won't thrive. It will be leggy, produce fewer flowers or fruits, and be more vulnerable to disease.
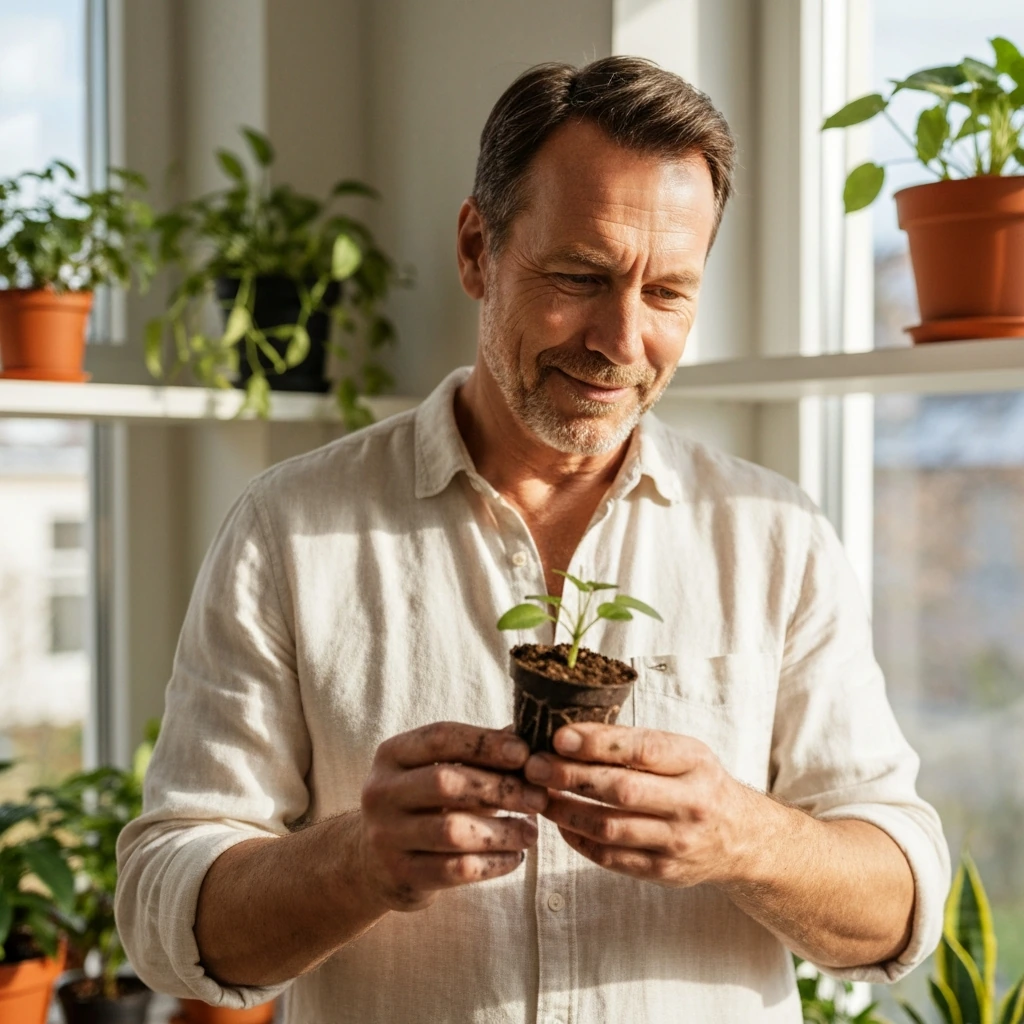
Start by narrowing your list to plants suited to your sun exposure and hardiness zone. Then consider your goals. Are you growing food? Flowers for pollinators? A low-maintenance border? Each goal points you toward a different plant list. Beginners tend to do well with forgiving, fast-growing options that provide quick feedback. For vegetables, zucchini, beans, lettuce, and radishes are genuinely hard to fail with if the basics are in place, if you’re learning how to grow plants and trees with the right plant-matching approach. how to grow plants and trees For flowers, marigolds, zinnias, and sunflowers are tough and rewarding. For perennial structure, coneflowers and black-eyed Susans come back year after year in most zones with almost no fuss.
One practical tip: when possible, choose varieties labeled as disease-resistant. This is especially true for tomatoes (look for the letters V, F, N, or T after the variety name on the tag, which indicate resistance to common diseases). Disease-resistant varieties don't eliminate problems, but they reduce the chances of losing plants to issues you might not even recognize until it's too late.
If you're also curious about growing in containers, raised beds, or other setups beyond a traditional in-ground bed, the same plant-matching logic applies. The core principle of right plant, right conditions transfers directly whether you're growing in soil, a raised bed, or a container on a balcony. The details around watering frequency and soil mix shift, but the plant's fundamental needs don't change.
Prepare your soil and gather what you need
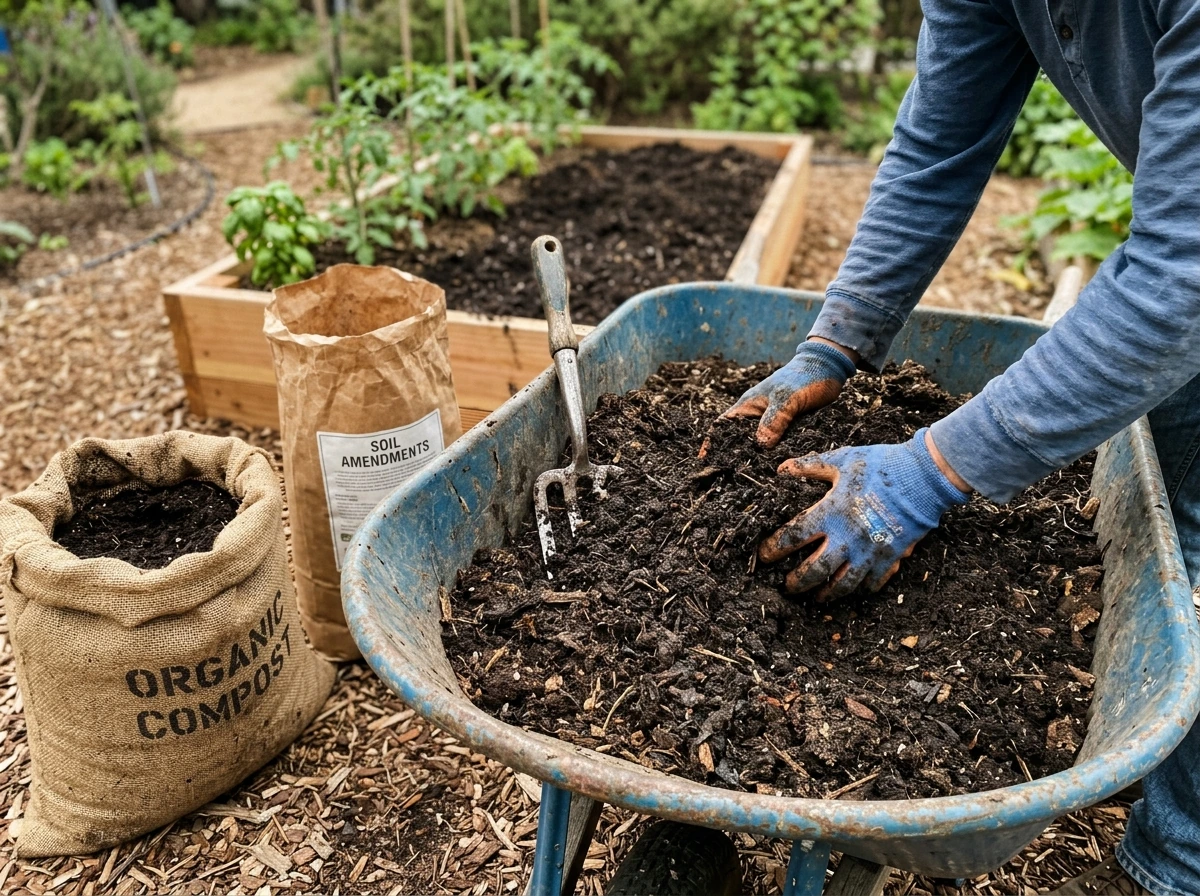
Healthy soil is the foundation of a healthy garden, and it's where most of the real work happens before a single plant goes in the ground. Garden soil improves dramatically when you add organic matter. Compost is the go-to: it feeds plants, improves drainage in heavy clay soils, and helps sandy soils hold moisture. Composted manure works similarly. Work a 2- to 3-inch layer of compost into the top 8 to 10 inches of your soil before planting. If your native soil is particularly heavy, slow-draining clay, a soil test from your local extension service will tell you exactly what nutrients are present or lacking so you're not guessing.
If you're building a raised bed from scratch, a practical mix that works well is about 70% quality topsoil and 30% high-quality compost. This gives you good drainage, good water retention, and enough nutrients to get plants started without needing a lot of added fertilizer right away. Make sure your raised bed has somewhere for water to go. If you're placing it on concrete or a surface that doesn't drain, you'll need drainage holes or a gravel layer at the bottom.
For tools, you don't need much to start. A short list of genuinely useful basics:
- A spade or garden fork for turning and loosening soil
- A hand trowel for transplanting and small digging tasks
- A garden hoe or cultivator for weeding
- A watering can or garden hose with an adjustable nozzle
- A ruler or planting stick for spacing and depth
- Gloves that actually fit your hands
You don't need a rototiller, a fancy raised bed kit, or a full set of specialty tools to grow well. Start simple and add tools only when a real need comes up.
How to actually plant: timing, depth, spacing, and transplanting
Timing is everything. Planting too early in spring risks frost damage to tender plants. Planting too late in the season means some crops won't mature before the first fall frost. Use your last frost date as your anchor. Cold-tolerant crops like lettuce, spinach, kale, and peas can go in two to four weeks before your last frost date. Warm-season crops like tomatoes, peppers, cucumbers, and squash should go in only after the danger of frost has passed.
Planting from seed
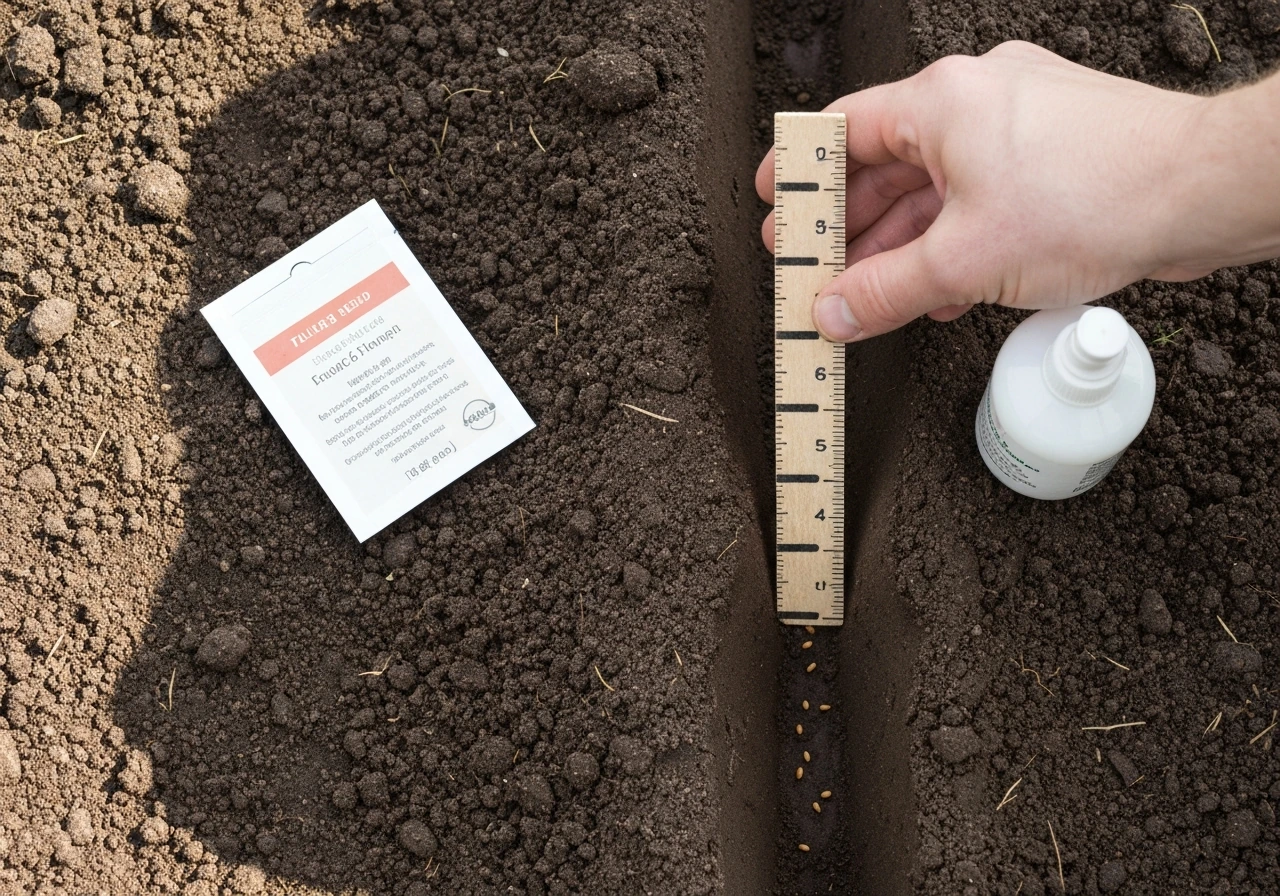
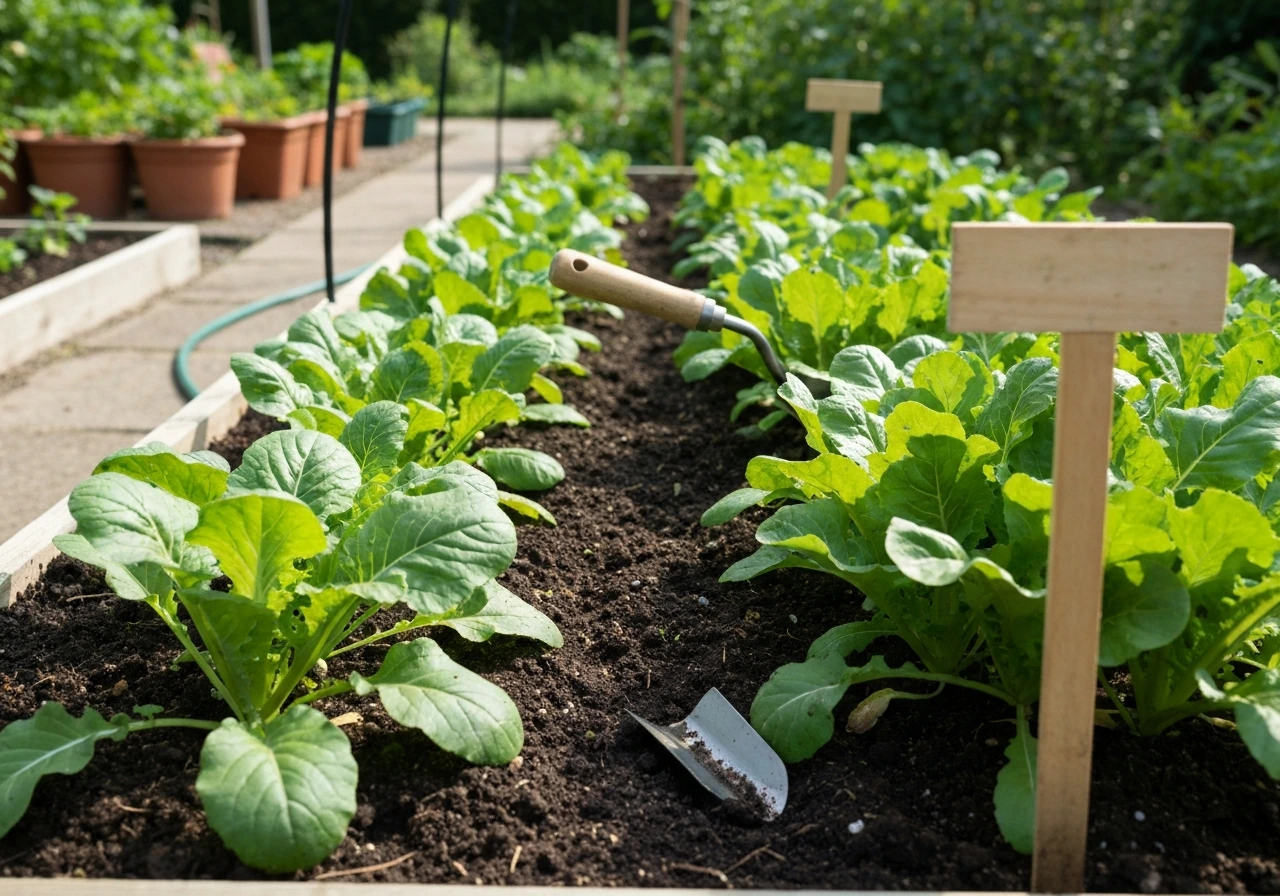
Planting depth and spacing matter more than most beginners expect. A general rule for seeds is to plant them at a depth of about two to three times their diameter. Tiny seeds like carrots or lettuce get pressed barely into the surface. Larger seeds like beans or squash go an inch or two down. Spacing affects how much room roots have to develop and how much air circulates around the plant. Crowded plants compete for water and nutrients, and poor airflow encourages disease. Always thin seedlings once they sprout, even if it feels wasteful. Thinning to the recommended spacing on the seed packet is not optional if you want full-size plants.
Planting transplants from the nursery or starting seeds indoors
If you're planting seedlings you started indoors or bought from a nursery, the critical step before they go into the garden is hardening off. This is the process of gradually acclimating plants that have been growing in a controlled indoor environment to outdoor conditions. Start by placing seedlings in a protected, shaded outdoor spot on warm days and bringing them back inside at night. Do this for about a week, gradually increasing their sun exposure each day. Skipping this step often leads to transplant shock, which can set plants back by weeks.
When you're ready to plant a transplant into the ground, dig a hole slightly larger than the root ball. Set the plant at the same depth it was growing in its pot (tomatoes are a notable exception and can be planted deeper, right up to their lowest leaves, because they grow roots along the buried stem). Firm the soil gently around the roots, water immediately, and if possible, plant in the late afternoon or on a cloudy day to reduce stress on the plant during establishment.
| Method | Best for | Main advantage | Watch out for |
|---|---|---|---|
| Direct seeding | Beans, carrots, beets, radishes, squash, sunflowers | No transplant shock; lower cost | Timing precision; thinning required |
| Indoor seed starting | Tomatoes, peppers, eggplant, slow-maturing crops | Head start on the season | Hardening off is essential; seedling care indoors |
| Nursery transplants | Beginners; fast setup; herbs, tomatoes, peppers | Quickest path to established plants | Higher cost; still needs hardening off if greenhouse-grown |
Watering and feeding: what plants actually need
The most common watering target for vegetable gardens is about 1 inch of water per week, either from rain or irrigation. But that number only makes sense if you understand what your soil type does with that water. Sandy soils drain fast and dry out quickly, so they benefit from more frequent, smaller applications rather than one big weekly soak. Clay soils hold water longer, which means you can water less frequently but you need to make sure you're not creating waterlogged conditions that suffocate roots. Loamy soil, the ideal middle ground, holds moisture well while still draining.
How you water matters as much as how much. Deep, infrequent watering is far better than shallow daily watering. When you water deeply, wetting the soil down 5 to 6 inches, roots follow the moisture downward and grow deeper. Deeper roots make plants more drought-tolerant and more stable. Shallow watering keeps roots near the surface where they're vulnerable to heat and dry spells. A practical approach: water deeply once or twice a week, then stick your finger 2 inches into the soil. If it's still moist, wait. If it's dry, water.
For feeding, plants need three main nutrients: nitrogen (for leafy growth), phosphorus (for roots and flowering), and potassium (for overall health and disease resistance). If you've worked compost into your soil, you've already given plants a good foundation. For most vegetable gardens, a balanced granular fertilizer applied at planting and again partway through the season is enough. Leafy greens benefit most from nitrogen. Fruiting crops like tomatoes and peppers need less nitrogen once they start flowering, or you'll get a lot of leaves and not much fruit. Always follow label rates. More fertilizer is not better and can burn roots.
Keeping the garden going: weeds, pests, and disease
Ongoing garden care is mostly about staying on top of small problems before they become big ones. Weeds compete with your plants for water, nutrients, and light, and they're much easier to pull when they're small. A quick pass with a hoe or by hand once a week keeps them manageable. Mulching around plants with a 2- to 3-inch layer of straw, wood chips, or shredded leaves suppresses weeds, retains soil moisture, and moderates soil temperature. It's one of the highest-return habits in gardening.
For pest and disease management, the most effective approach is also the simplest: look at your plants regularly. Scout your garden at least once a week, walking through and checking leaves (including the undersides), stems, and the soil surface near the base of plants. Catching a pest infestation or disease early, when it's limited to a few leaves or one plant, means you can often manage it by hand-picking pests, removing affected leaves, or adjusting watering and airflow. Once a problem has spread to half the garden, your options narrow.
When you find diseased leaves, remove and dispose of them in the trash, not the compost pile, unless you're confident your compost heats to at least 140°F to kill pathogens. Leaving diseased plant material on the ground or in a cold compost pile keeps the problem cycling. At the end of the season, clearing out dead and diseased plant debris is one of the most effective things you can do to reduce next year's pest and disease pressure.
Damping-off is worth mentioning specifically for beginners starting seeds. It's a fungal condition that causes seedlings to collapse at the soil line, and it's almost always caused by overwatering, poor drainage, or reusing unsterilized soil. Prevent it by using fresh seed-starting mix, ensuring containers drain freely, and watering only when the top of the soil is dry.
When things go wrong: troubleshooting common problems
Plants communicate through their appearance. Most problems have visible symptoms that point to a cause once you know what to look for. Here's a practical guide to the most common issues:
| Symptom | Likely cause | What to do |
|---|---|---|
| Wilting despite moist soil | Overwatering or poor drainage; root rot | Check drainage; reduce watering; let soil dry out between sessions |
| Wilting in dry soil | Underwatering or heat stress | Water deeply; mulch around base to retain moisture |
| Yellowing lower/inner leaves | Overwatering, poor drainage, or nitrogen deficiency | Check soil moisture; improve drainage; apply balanced fertilizer if soil is consistently moist |
| Yellowing after transplanting | Transplant shock | Be patient; keep soil evenly moist; avoid fertilizing until new growth appears |
| Leaf scorch or brown edges | Transplant shock, heat stress, or wind exposure | Shade transplants for a few days; water deeply; reduce wind exposure |
| Stunted or slow growth | Compacted soil, nutrient deficiency, or transplant shock | Loosen soil around plants; apply compost; consider a soil test |
| Holes in leaves | Insects (caterpillars, beetles, slugs) | Inspect leaves including undersides; hand-pick pests; identify before treating |
| Seedlings collapsing at the base | Damping-off (fungal) | Improve drainage; reduce watering; remove affected seedlings; avoid replanting in same spot |
Transplant shock deserves extra attention because it's the most common issue for new gardeners who do everything else right. Symptoms include wilting, yellowing, leaf rolling or curling, and leaf scorch, all showing up in the days or couple of weeks after planting. The fix is mostly patience combined with consistent, gentle moisture. Don't fertilize a shocked plant, it's already stressed and can't use the nutrients. Just keep the soil evenly moist, shield the plant from wind and harsh midday sun temporarily, and wait. Most plants push through it.
If you can't figure out what's wrong, the most useful thing you can do is take a clear photo of the affected plant and bring it to your local cooperative extension office or a reputable nursery. Extension offices are free and staffed by people who know what pests and diseases are active in your specific region right now. They're genuinely one of the most underused resources in gardening.
Your seasonal plan and what comes next
Gardening has a rhythm, and working with it rather than against it makes everything easier. Here's a practical seasonal framework to build around:
| Season | Key tasks |
|---|---|
| Late winter/early spring | Check frost dates; order seeds; start slow-maturing crops indoors (tomatoes, peppers) 6-8 weeks before last frost |
| Early spring (before last frost) | Amend soil with compost; plant cold-tolerant crops (lettuce, peas, kale, spinach) outdoors; harden off indoor seedlings |
| Late spring (after last frost) | Transplant warm-season crops; direct sow beans, squash, cucumbers; mulch beds; set up watering routine |
| Summer | Water deeply and consistently; scout weekly for pests and disease; fertilize mid-season fruiting crops; succession sow fast crops like lettuce |
| Early fall | Plant fall crops (cool-season vegetables again); use row covers to extend the season and protect against early frosts; begin cleaning up spent plants |
| Late fall/winter | Full garden cleanup; add compost to beds; take notes on what worked; plan next year's layout and order seeds early |
Row covers are worth having on hand for spring and fall. A floating row cover draped over small transplants traps heat and creates a slightly warmer microclimate, protecting plants from unexpected late frosts and helping them establish faster. They're inexpensive, reusable, and genuinely useful for extending your season by a few weeks on either end.
One of the most important mindset shifts for new gardeners: keep notes. A simple notebook or phone notes app where you jot down what you planted, when, how it went, and what you'd do differently is worth more than any gardening book. After even one full season, you'll have specific, personalized information about your exact space that no general guide can give you.
Your next step right now, today, is simple. Figure out your last frost date, walk your garden space at three different times of day to assess sun, and write down what you want to grow this season. Start with two or three crops or plant types you're actually excited about eating or seeing. Get one thing in the ground, keep up with watering, and you'll learn more in one growing season than you would from reading for a year. The garden teaches you faster than anything else.
FAQ
How do I know my garden gets enough sun if clouds and tree shade change throughout the day?
Use the sun chart method, but also watch on at least two different days (one typical clear day and one closer to your usual weather). If a spot only gets direct sun after midday, treat it as partial shade for plants that need consistent light, and prioritize varieties that tolerate morning sun or reflected light.
What should I do if my last frost date is uncertain or I’m in a microclimate (near a wall or low spot)?
Plan for a buffer. In exposed, windy areas, delay warm-season transplants until the danger of frost is truly past, and consider using row covers for the first week after planting. For low spots that collect cold air, expect earlier frost return in fall and be ready to swap to short-season varieties.
Is it better to start plants from seed indoors or buy seedlings for my first garden?
If you want fast success, buy local, region-appropriate seedlings or choose crops that can be direct-sown. Start seeds indoors only for long-season crops (like some peppers) or when you want a specific variety, because indoor starts fail most often from insufficient light and irregular watering.
How do I avoid overwatering when I’m not sure what my soil holds?
Do a simple drain-and-wet check once. After watering, note how long it takes for the top few inches to dry, then adjust frequency to keep soil moist but not soggy. For raised beds and container gardens, confirm drainage by checking that excess water runs freely out the bottom.
What watering schedule should I follow during heat waves or when it rains a lot?
During heat waves, shift to deep watering but more often, since the soil may dry faster. During rainy stretches, pause irrigation and re-check moisture 2 inches down before watering again. Consistency matters more than hitting a fixed day each week.
When should I fertilize, and how can I tell if I’m overdoing nitrogen?
After compost has been worked in, many beginner vegetable gardens only need light feeding at planting and a mid-season boost. If plants are lush and leafy but flower or fruit set is weak, reduce nitrogen and switch to a balanced approach, because excess nitrogen can also increase susceptibility to some pests.
Do I need a soil test, or can I just add compost and go?
Compost is a great baseline, but a soil test helps when growth is consistently off, you see persistent nutrient-related issues (like yellowing between veins), or you’re amending the same beds every year. If you’re troubleshooting, testing is more cost-effective than repeatedly guessing with fertilizer.
How do I choose a mulch type that won’t cause problems near plant stems?
Use a 2 to 3 inch layer and keep it a couple of inches away from stems to reduce rot and pest habitat. Straw and shredded leaves are beginner-friendly, while fresh wood chips can temporarily tie up nitrogen in some beds, so give it time or use compost underneath.
What’s the correct way to thin seedlings, and should I transplant the thinnings?
Thin by snipping at soil level, not pulling, to avoid disturbing roots of remaining seedlings. Transplanting thinnings can work for some species, but it’s rarely worth the risk for beginners, since survival and spacing accuracy are inconsistent.
Why are my plants wilting even though the soil feels wet?
Two common causes are roots suffocating in waterlogged soil (especially in clay or poorly drained beds) and transplant shock. Check drainage by looking for standing water after watering, and inspect for curling, scorch, or yellowing patterns that appear soon after transplanting. If it’s waterlogged, improve drainage and stop frequent watering until the soil dries slightly.
How can I manage pests early without using harsh treatments?
Start with physical control: remove affected leaves, hand-pick visible insects, and increase airflow by spacing and pruning where appropriate. Use row covers for caterpillars and flying pests early in the season, because once the pest is established on multiple plants, hand removal becomes much slower.
What should I do with diseased leaves if I’m unsure whether my compost gets hot enough?
If you cannot confirm high compost temperatures, discard diseased material in the trash. Using uncertain compost increases the chance that pathogens persist and reinfect plants next season, especially for recurring fungal leaf diseases.
Is disease-resistant seed or plants guaranteed to be problem-free?
No. Resistant varieties reduce the likelihood of severe disease, but stress (heat, poor airflow, inconsistent watering) can still lead to infections. Treat resistance as a risk reducer, then keep scouting weekly and adjust care to prevent conditions that favor disease.
What’s the fastest way to figure out what’s wrong when leaves look abnormal?
Take a clear close photo of the whole plant and a second photo of the affected leaves, including the underside. Note timing (days since planting), watering changes, and whether the issue started at the edges, lower leaves, or new growth, because location and timing narrow the cause quickly. If needed, bring those details to your local extension office.