How to Time Planting Using Your Local Climate
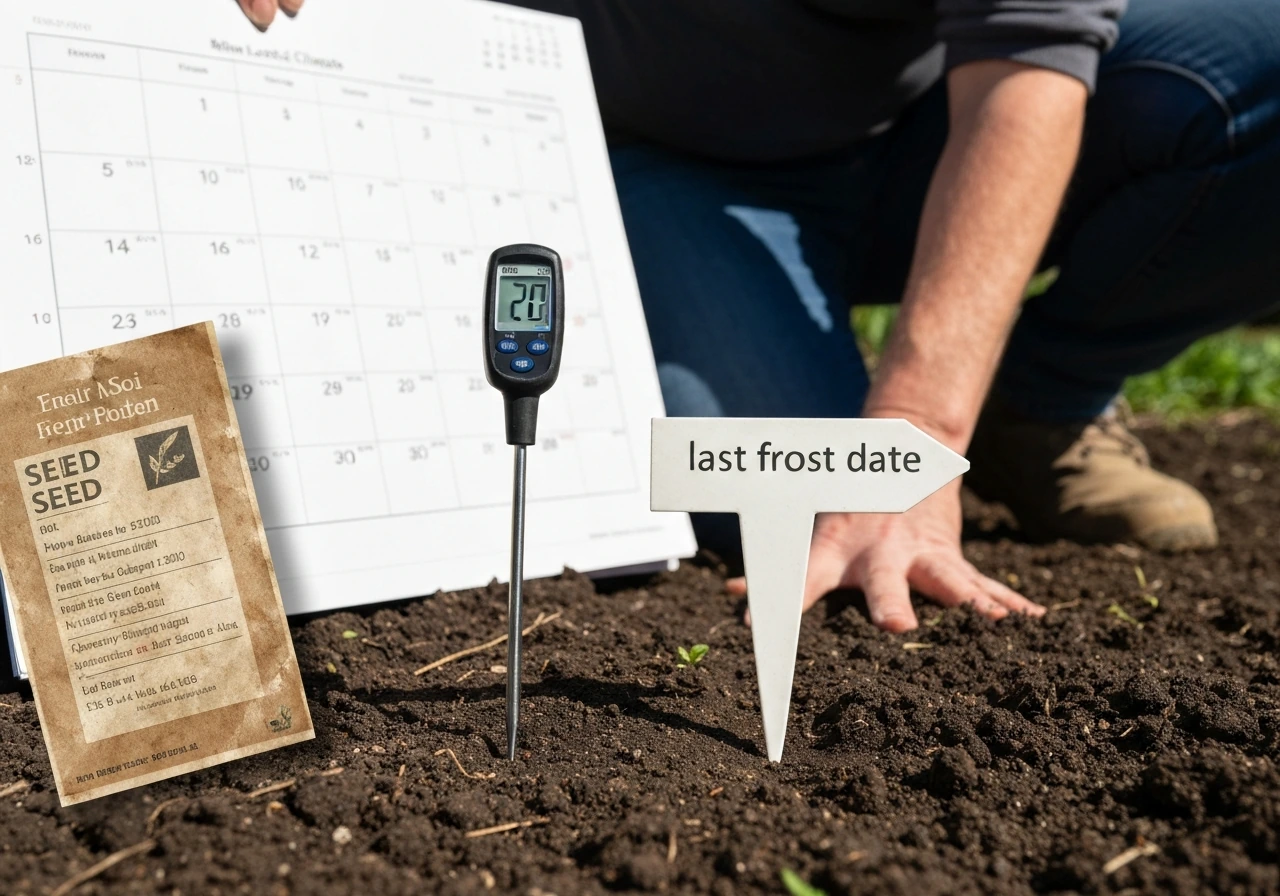
Frost dates are your single most reliable planning tool. Your last spring frost date is the point after which a hard freeze is unlikely, and it is the anchor for almost all outdoor planting decisions. The Old Farmer's Almanac offers a frost dates tool by ZIP code that gives you both historical averages and a current-season forecast, which is worth bookmarking. Look up your last frost date, then aim to plant your Throw and Grow seed balls right around that date or within a week or two after it.
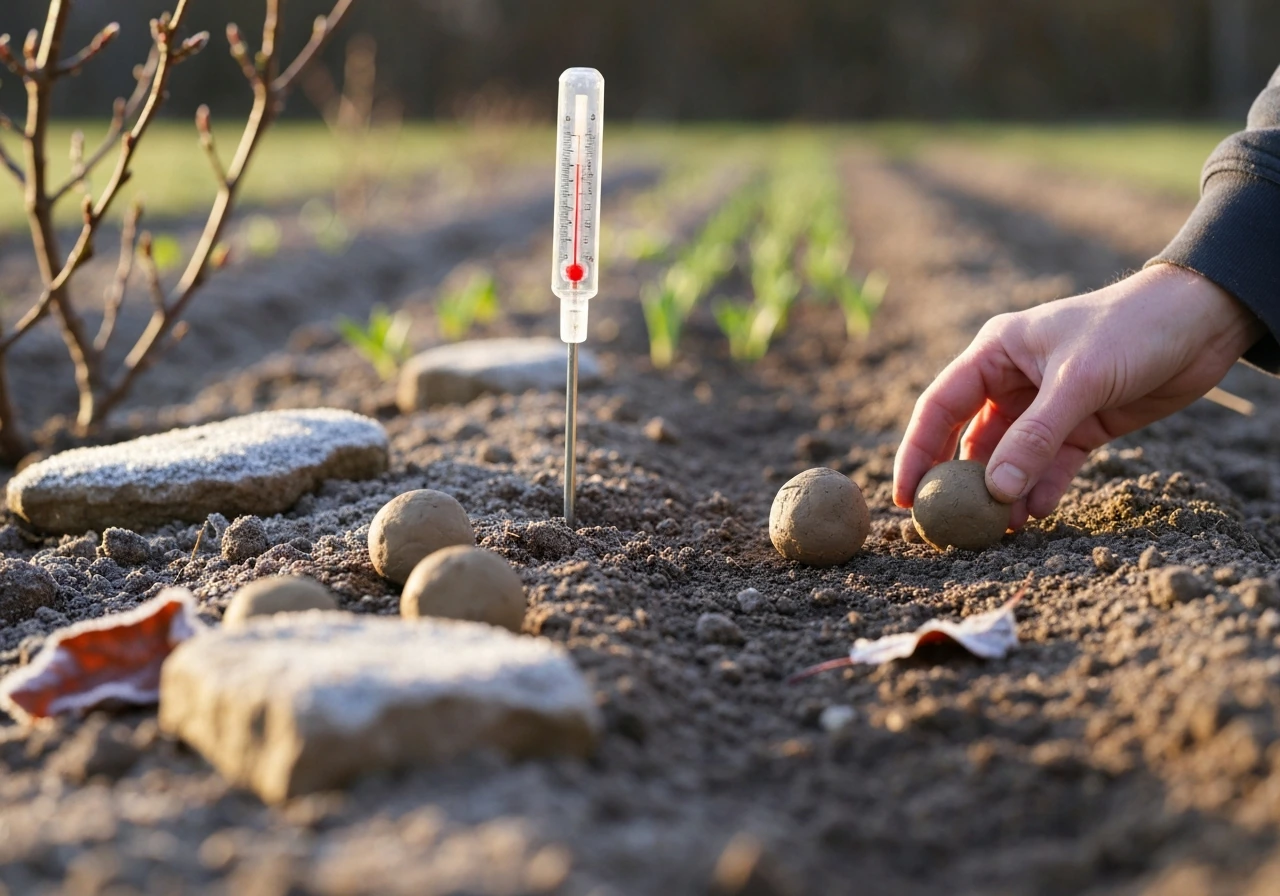
Beyond the frost date, pay attention to two other signals: soil temperature and nighttime air temperature. Soil at or above 55°F is the practical minimum for most wildflower and garden seed mixes commonly found in Throw and Grow products. At that temperature, seeds can absorb moisture and begin germination. Below it, they just sit and rot or stay dormant. You can buy a simple soil thermometer for a few dollars, or push your finger a couple of inches into the ground in the morning. If it feels cold enough to be uncomfortable, the soil is probably not ready yet.
Nighttime temperatures also matter more than most beginners realize. Young seedlings emerging from seed balls prefer nights around 55°F and days around 65°F for healthy, sturdy early growth. A surprise cold snap right after germination can set sprouts back significantly. Check your 10-day forecast before you throw your seed balls down outdoors, and if night temps are still dipping below 45°F regularly, wait another week or two, then follow plug plants how to grow guidance for the best results.
Daylight is the third factor. Longer days in spring and early summer mean more natural light energy for newly germinated seedlings to establish. If you are outdoors, this largely takes care of itself once you are past your frost date. Indoors, you are managing it manually, which is covered below.
Regional Quick Reference
| Region | Approx. Last Frost | Ideal Outdoor Planting Window |
|---|
| Pacific Northwest / Pacific Coast | Late Feb – Mid March | Mid March – Early April |
| Southwest / Southern California | Late Jan – Late Feb | Feb – Mid March |
| Southeast / Gulf Coast | Late Feb – Late March | March – Early April |
| Mid-Atlantic / Midwest | Mid April – Early May | Late April – Mid May |
| Mountain West / Great Plains | Late April – Mid May | Early May – Late May |
| Northeast / Upper Midwest | Late April – Mid May | Early May – Late May |
| Pacific Northwest Inland / Northern Rockies | Late May – Early June | Late May – Mid June |
These are rough guides only. Always verify your specific last frost date using a local resource or the Almanac ZIP code tool, since microclimates, elevation, and urban heat islands can shift your real-world window by several weeks.
Planting Instructions for Every Growing Setup
Throw and Grow seed balls are designed to be simple, but your growing environment changes what success looks like. Here is how to handle timing and setup depending on where you are planting.
Outdoor Soil
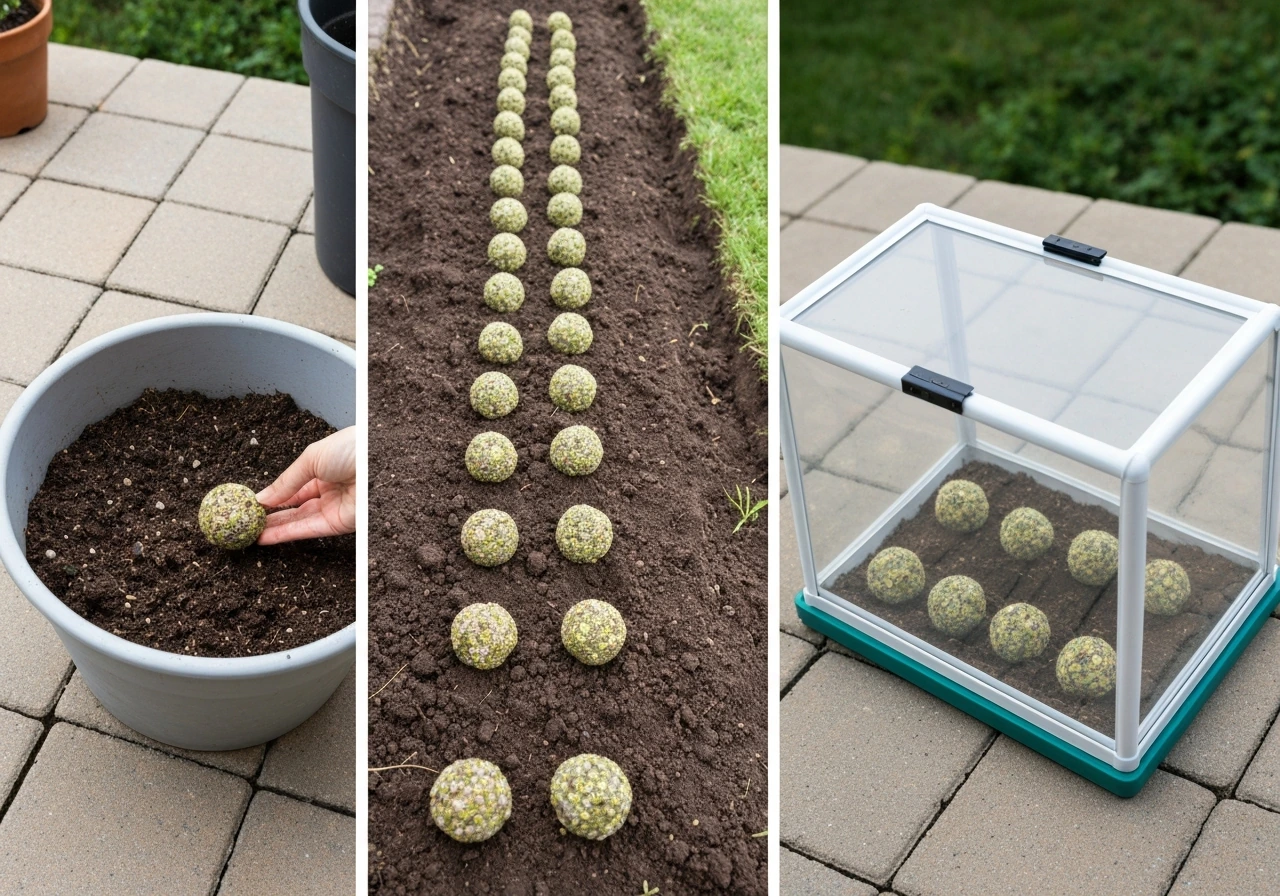
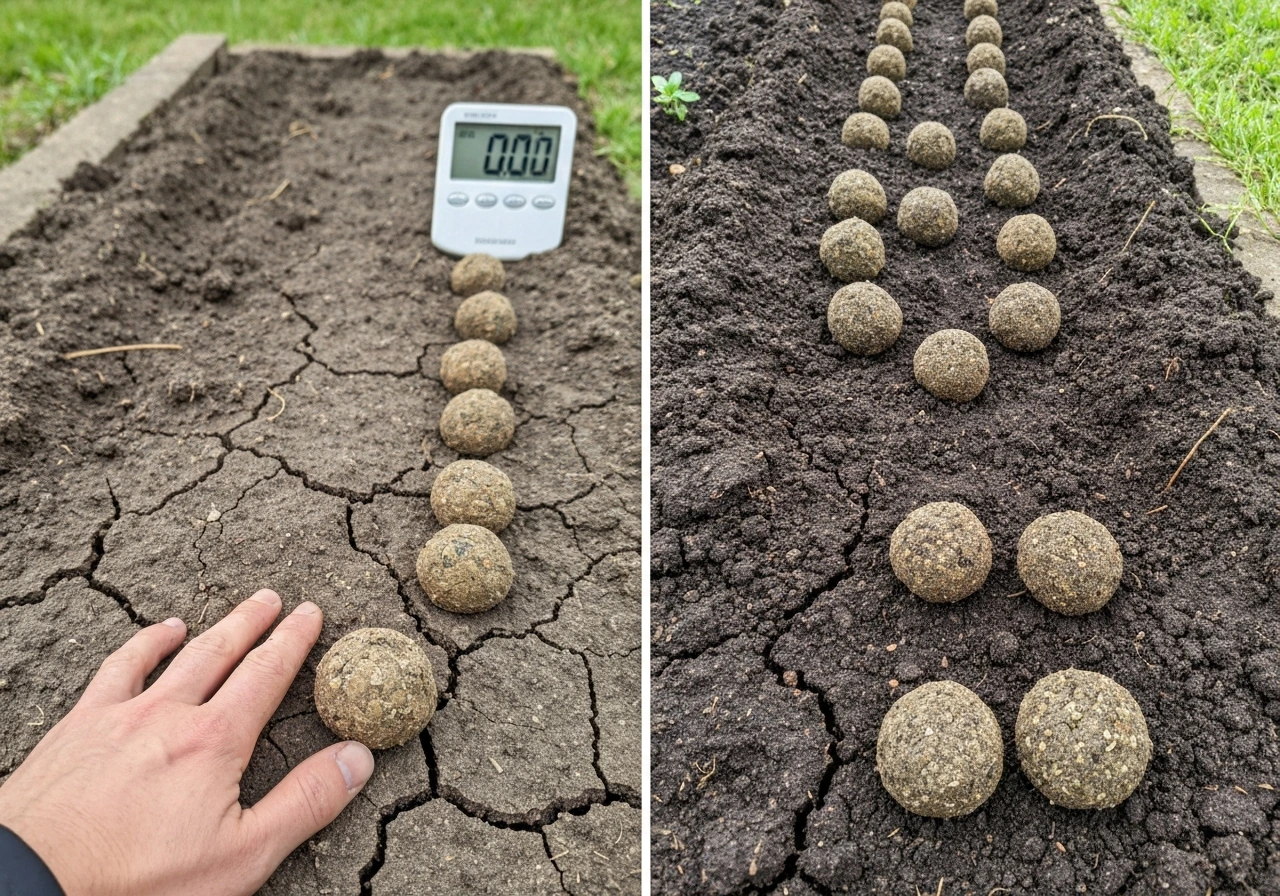
This is the classic method. Once your soil is at or above 55°F and frost risk has passed, place your seed balls directly on the soil surface. Do not bury them. The clay casing is designed to sit on top of the ground, slowly soften with rain or watering, and release seeds in contact with the soil beneath. Press them lightly so they have good contact with the surface and are not going to roll away. Water immediately after placing them and keep the area consistently moist until you see sprouts emerging.
Containers, Planters, and Window Boxes
Containers give you a head start. Because they warm up faster than in-ground soil, you can often plant two to three weeks earlier than you would outdoors in the same region. Use a good potting mix, not garden soil, since it drains better and stays aerated. Press your seed balls onto the moist surface of the mix, water gently, and keep the container somewhere it will get plenty of light. If nighttime temps are still cold, bring the container indoors overnight. This flexibility is one of the best things about container growing for seed balls.
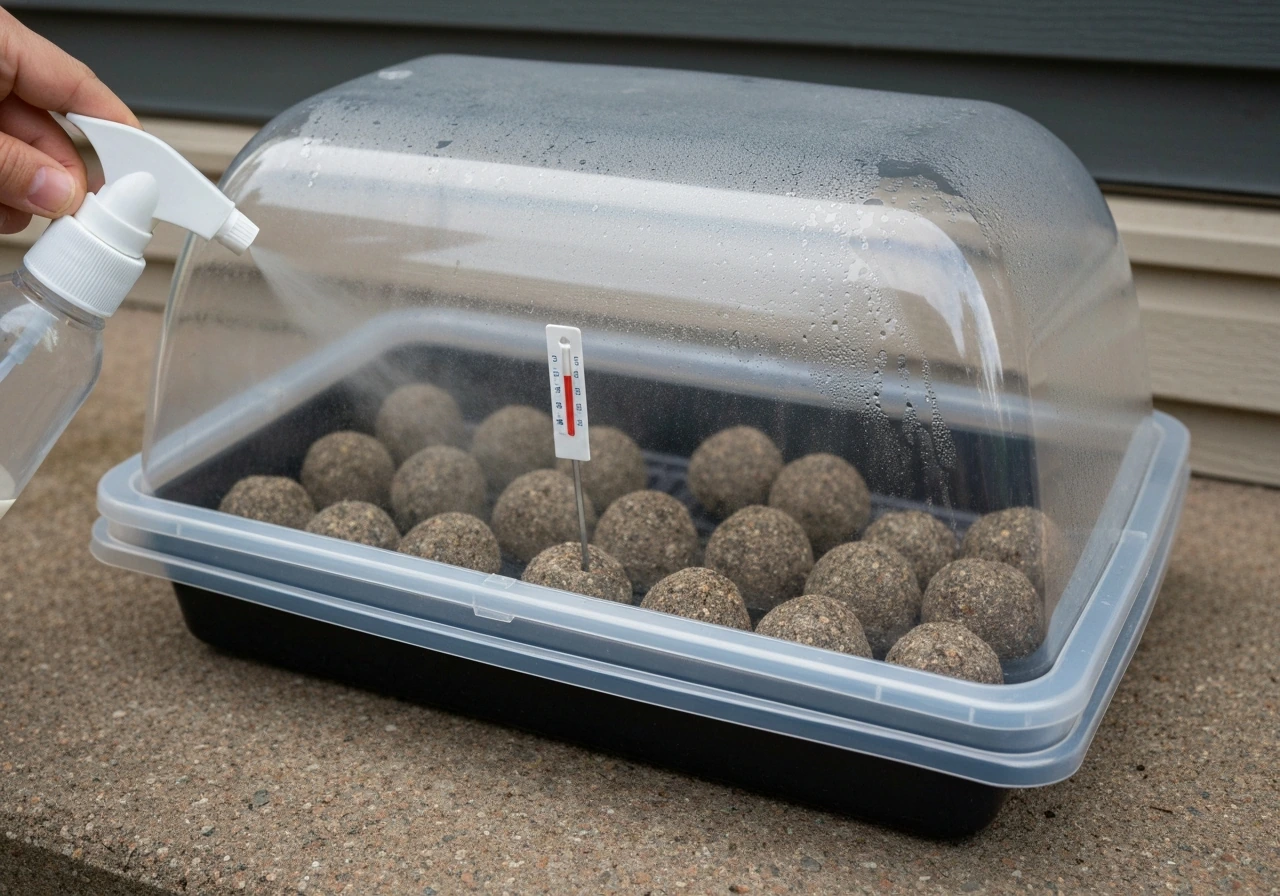
Indoor and Terrarium Growing
Indoors, timing is almost entirely about light and temperature rather than the calendar. A terrarium or enclosed container creates a humid microclimate that seed balls actually love during germination. Set your seed balls on moist substrate, close the lid partially to retain humidity, and place the setup near a bright window or under grow lights. Room temperature of 65 to 75°F is ideal. The main risk indoors is not having enough light, not temperature, so this is where your light setup matters most.
Hydroponics and Water-Based Methods
Throw and Grow seed balls are clay-based and not designed for direct water submersion in a hydroponic system. However, if you want to extract seeds from a ball and start them in a hydroponic tray or net pots, you can do that indoors any time of year. Soak the ball in water briefly to loosen the clay, then separate and plant the seeds in your chosen media. From there, standard hydroponic timing applies: maintain water temperatures between 65 and 72°F and provide 16 to 18 hours of light per day from your grow lights for strong early growth.
Seed-Start vs. Direct Planting, and Getting Moisture and Warmth Right
Throw and Grow is really a direct-planting product by design. You are not starting seeds in a tray and then transplanting. The clay ball does the seed-starting work for you, protecting seeds until conditions are right and releasing them directly into their final growing spot. That said, you can accelerate things indoors before moving plants outside later, especially if your outdoor season is short. how to grow and harvest a plant on sims freeplay
Moisture is the make-or-break factor during germination. The clay in a seed ball needs to fully absorb water before the seeds inside can activate. Once moisture has penetrated the ball, the seeds begin to germinate inside it, then push out through softening clay as they grow. If the ball dries out completely before sprouts emerge, you can lose your seeds. Keep seed balls consistently moist, not waterlogged, from the moment you place them. Think of the moisture level you want as similar to a wrung-out sponge: damp through and through, but not sitting in a puddle.
Warmth works together with moisture. Cool, damp conditions slow germination dramatically, and soggy, cold soil can encourage rot before germination even starts. The sweet spot is warm and moist. If you are starting indoors and your home runs cool, placing seed balls on top of a refrigerator or using a seedling heat mat set to 70°F can make a noticeable difference in germination speed.
Pre-Planting Checklist
- Check your last frost date using the Almanac ZIP code tool and confirm you are within the safe planting window.
- Measure soil or growing media temperature in the morning. Wait until it reaches 55°F minimum.
- Check the 10-day forecast for nights below 45°F. If several are predicted, wait another week.
- Prepare your planting area: loosen the top inch of soil outdoors or fill containers with fresh potting mix.
- Water your planting area before placing seed balls so the surface is already moist.
- If growing indoors, confirm your light source is ready: a south-facing window or grow lights set to 16 to 18 hours per day.
- Have a watering plan in place so the area stays consistently moist for the first two to three weeks.
When Things Go Wrong: Timing Mistakes and How to Fix Them
Timing mistakes are the most common reason Throw and Grow seed balls fail to germinate. The good news is that most of these problems are diagnosable and fixable, sometimes even after the fact.
Planted Too Early or Too Cold
If you planted when soil temps were still below 50°F, seeds will likely stay dormant. That is actually not the worst outcome. Many wildflower seeds are naturally cold-hardy and will simply wait in the clay until temperatures rise. Check the area after two to three weeks of warmer weather. If you see no signs of life and the balls have not softened or started to break down, give them a gentle soak and wait. If they have rotted or gone moldy, the combination of cold and wet was too much. In that case, replace them once conditions improve.
Planted Too Late or Too Hot
Summer heat combined with drying conditions is actually a bigger threat than cold for seed balls. When temps climb above 85°F and there is no rain, seed balls can bake dry faster than seeds can germinate. Young seedlings that do emerge are then hit with harsh sun and heat stress before their root systems are established. If you are planting in summer, water your seed balls twice a day during the hottest weeks and try to place them in a spot that gets afternoon shade. Container plants can be moved to shadier spots during heat waves.
Too Wet or Damping Off
Overwatering or poor drainage, especially in cool temperatures and low light, creates the perfect environment for damping off, a fungal condition where seedlings suddenly collapse at the soil line. This risk is highest when using humidity covers or enclosed setups during short winter days. If you see seedlings toppling over or developing a pinched, dark stem near the base, improve airflow immediately, remove any covers, and let the surface dry out slightly between waterings. Damping off spreads fast, so act as soon as you spot it. This is one reason to avoid planting too early in low-light, cold, humid conditions indoors.
Drying Out Before Germination
If seed balls dry out completely before sprouts emerge, the seeds may still be viable. Re-wet the balls thoroughly and maintain consistent moisture from that point. The clay will reabsorb water, and germination can still happen if the seeds have not been damaged. Going forward, check moisture levels daily during the first two weeks, not just every few days.
No Germination at All
If you have had appropriate warmth and moisture for three to four weeks and still see nothing, check the light situation. Some seeds inside a seed ball require light to germinate, and if the ball has not broken down enough to expose seeds to light, germination may be stalled. Gently break apart any balls that have softened to check whether seeds inside look swollen or have small root tips forming. If seeds look healthy but are stuck inside the clay, help them along by crumbling the ball apart and pressing seeds lightly onto moist soil with light contact.
After-Plant Care: What to Do Until Your Plants Are Established
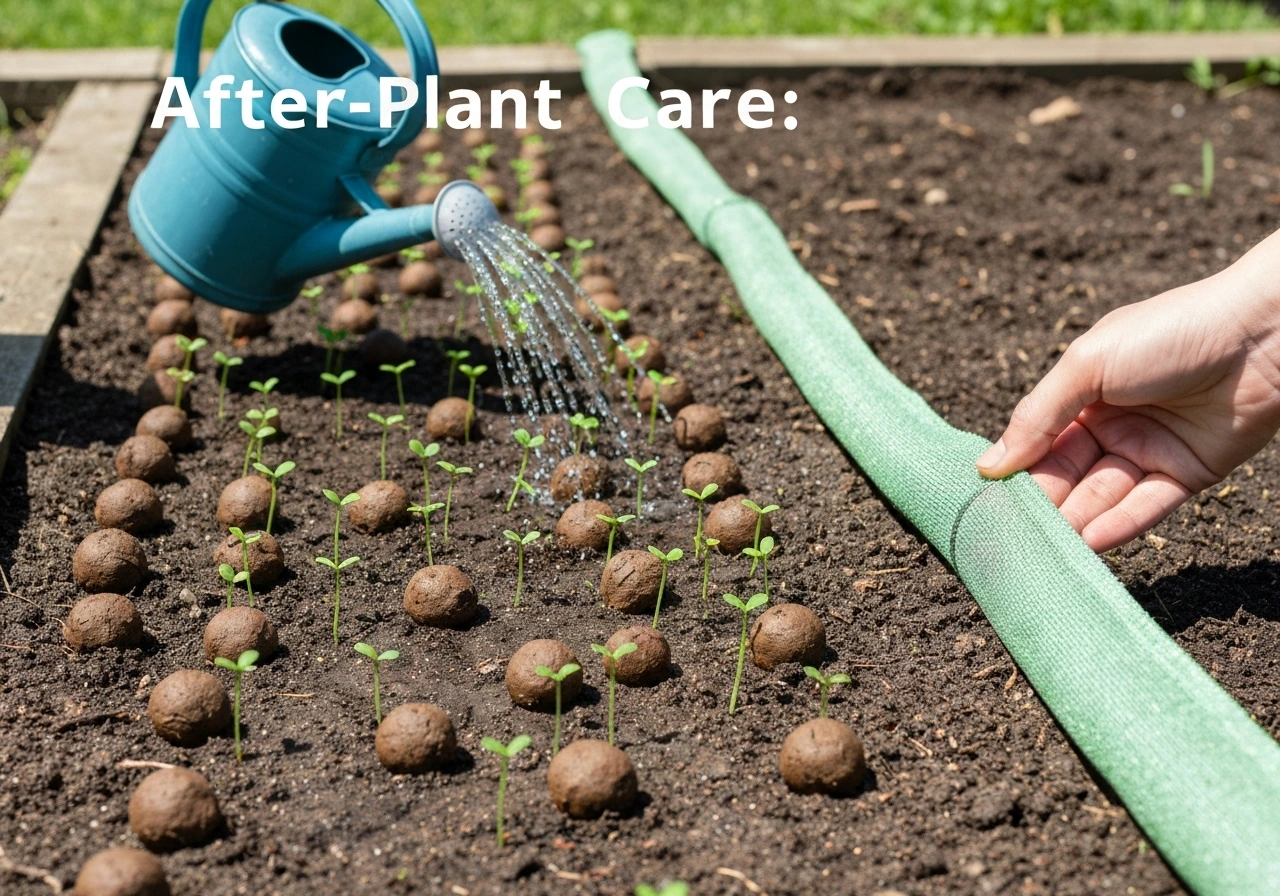
Once your seed balls are down and watered in, the job is not done. The establishment phase, roughly the first three to four weeks, is when most plants are most vulnerable. Here is a simple week-by-week approach to getting through it.
Days 1 to 7: Keep It Moist and Warm
Check moisture once or twice a day. The goal is to keep seed balls and the surrounding soil consistently damp. If you are outdoors and it rains, great. If not, water gently with a misting nozzle or watering can with a rose head so you are not blasting the balls with a strong stream. Avoid letting them dry out completely. Indoors, keep lights on for 16 to 18 hours per day and maintain room temperature between 65 and 75°F.
Days 7 to 14: Watch for Sprouts and Adjust Light
Most seeds in a Throw and Grow mix will show their first sprouts within one to two weeks under good conditions. Once you see green, the seedlings now need strong light to avoid becoming leggy and weak. Outdoors, this is mostly handled by natural daylight. Indoors, position grow lights 2 to 4 inches above seedlings and maintain the 16 to 18 hour schedule. If you are using fluorescent shop lights (which have lower light intensity than full sun), consider running them for 18 to 22 hours to compensate for the lower output. Keep moisture consistent, but once sprouts appear, you can let the surface dry very slightly between waterings to encourage roots to reach downward.
Days 14 to 28: Harden Off Outdoor Plants
If you started seed balls indoors and are moving them outdoors, this transition period is critical. Do not move plants from a warm indoor space to full outdoor sun and wind in one step. Start with one to two hours of outdoor time in a sheltered, partly shaded spot, then increase outdoor exposure by an hour or two each day over one to two weeks. This process, called hardening off, lets seedlings adjust to temperature swings, wind, and stronger light without going into shock. During this period, watch for wilting (too much sun or wind) and water stress (containers dry out fast outdoors).
Week 4 and Beyond: You Are Through the Hard Part
By the end of week four, plants that have established roots in your soil or container are significantly more resilient. Water needs will start to follow a more natural rhythm tied to rainfall and temperature rather than requiring daily checks. Reduce watering frequency (but increase depth) so roots are encouraged to grow deeper. At this point, if you are growing in containers, a light application of balanced liquid fertilizer can support continued growth. Outdoors in garden beds, established wildflower plants from Throw and Grow mixes are generally low-maintenance once the root system is in place.
If you are curious about other planting and growing methods beyond seed balls, there is a lot more to explore in our guides on how to plant and grow in different media, from soil to water-based setups, which can give you more options for year-round growing no matter your space or climate.